STEP 1: Watch Overview Video
Each toolkit starts with a brief overview video, highlighting key information and outlining the available resources. Be sure to watch these introductory guides.
Welcome to the 2027 Make:able challenge! We’re delighted to have you here and we look forward to supporting you in designing and making life-improving devices for people with disabilities. Begin by downloading and reading the brief below.
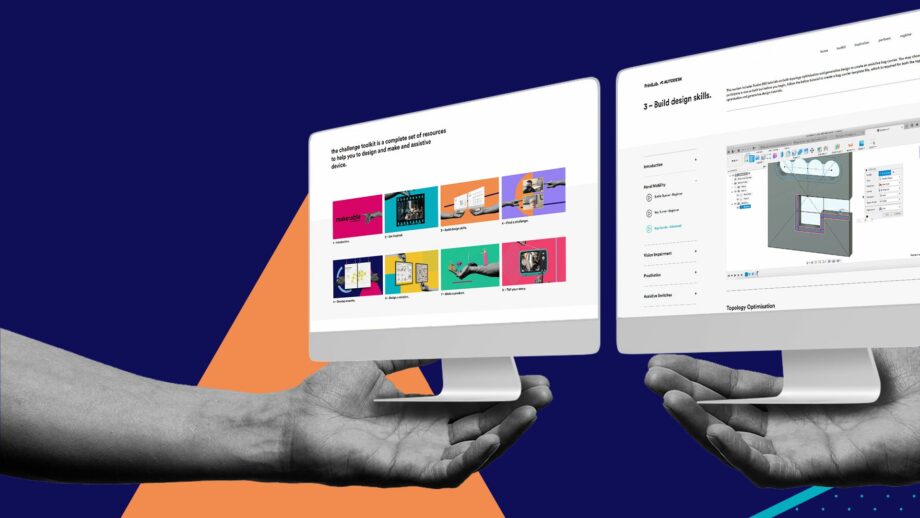
The online toolkit is divided into eight separate toolkits, offering a comprehensive, step-by-step guide to help you navigate the Make:able Challenge. Accompanying it is a workbook designed to assist you in planning your strategy for each stage and capturing key insights, helping you stay organised and focused throughout the process. Download the workbook and review the steps below to learn how to use each toolkit. The workbook is an interactive PDF, which can be filled in digitally using Adobe Acrobat Reader (free), or Acrobat Pro. Text and checkbox fields can be filled in with other PDF readers but Adobe Acrobat must be used if you’d like to upload images too. Alternatively, you can print it out to write in and attach images manually.
* Please note that the toolkit and workbook are optional resources. You are free to follow your own design process as long as you meet the requirements of the brief.
Each toolkit starts with a brief overview video, highlighting key information and outlining the available resources. Be sure to watch these introductory guides.
We then recommend briefly scanning through the resources in the toolkit. Avoid watching full videos or completing any activities just yet. The goal is to get a high-level overview of the toolkit's contents, which will help you plan and manage your time more efficiently.
Once you've reviewed the toolkit, you can return to each section for a detailed exploration, following the provided instructions to plan and complete activities.
In most sections, where applicable, you'll find a dropdown menu labelled 'Workbook' at the bottom. This contains guidance on how to complete the workbook for that particular section. When filling in the workbook, remember to save it each time you add something. The final section of each toolkit also includes a checklist, which is useful to ensure you are ready to move on to the next toolkit.
* When working through the Make:able Challenge, remember that the workbook is a concise document aimed at supporting you in the planning and implementation of your design process. Don’t be afraid to use additional resources like sketchbooks, large sheets of paper, sticky notes, and digital tools too!

Assemble your team and give yourself a team name! Then allocate each person a specific role. Everyone can participate in each section of the journey but it can be beneficial to have people 'in charge' of different areas. For example, you might have a project manager, lead designer, and video creator.
Browse through each of the toolkits before you begin the challenge to give you a general understanding of the entire process. A brief scan through will suffice as you will be going through the content in detail as you progress.
The next step is to identify an end user to design for and there are 2 options to do this. The first and most effective way is to find an end user in your local community. Remember that you should be able to communicate with this person regularly, whether this be online or in-person and ideally, they’d be able to test your prototypes and provide constructive feedback to help you reach a final solution that fits their needs. Take a look at some of the ideas below, which highlight a range of places you might find meaningful design challenges. Then go ahead and find your end user!
*If you’re struggling to find a local end user, don’t worry. Head to the next section to learn about an alternative way to participate in the Make:able Challenge.
Does someone in your team have any family members or friends who struggle with a disability? This might be a child, cousin or even a grandparent.
Teachers or staff members who have a good understanding of the people in your school, library or organisation may be able to support you in finding an end user to design for.
Use the internet to search for local disability organisations who can connect you with end users. You may wish to search for organisations that support specific disabilities such as arthritis.

Many hospitals have rehabilitation centers who may be willing to connect you to patients. If you decide on reaching out to a hospital, ensure you research what departments are available before finding the relevant contact details.
Local care homes may be able to connect you with elderly individuals who struggle with a range of disabilities or the effects of ageing.
We are also happy for you to expand outside of the local community and design solutions for people who you can connect with online through disability platforms. Check out the design challenges on the Makers Making Change forum by clicking below to see if you can connect with an end user who is seeking solutions.
If you opted to design for a local end user:
*Tip – When filling in the interactive PDF, try to keep your answers concise and within the boundary boxes/lines. Additional notes and visuals can be kept separate from the workbook as an addendum.
*This section is for those who are unable to connect with a local end user. If you have already identified your end user, please move to the next section.
Although finding a real end user is ideal, it might not always be possible, in which case you might want to look into option 2 – designing for a Make:able Champion. Make:able Champions are volunteers with various disabilities and they have kindly shared videos explaining their disability, together with the day-to-day challenges they face. By listening to their stories and observing their actions, you have the opportunity to design a concept solution for one of them. This year, we have opted to showcase all Make:able Champions from previous years, and their profiles can be viewed below. Browse through and select your Champion!

Valerie is 66 years young, loves planting flowers and describes herself as a geek and problem solver! She has had rheumatoid arthritis since she was 3 years old and scoliosis for the last 20 years. She started using a wheelchair 3 years ago and since then her health and quality of life has declined.
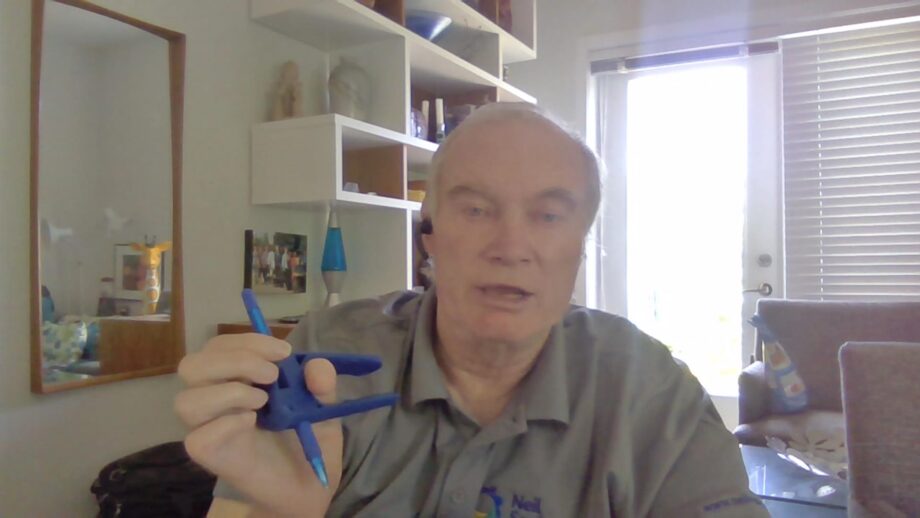
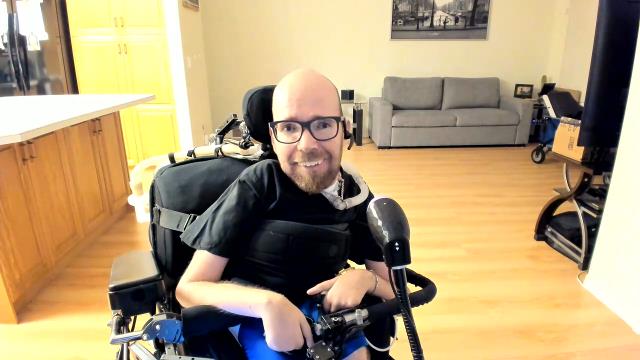
Gary is the Executive Director of the Neil Squire Society. He was injured in a car accident several years ago and is a C6 quadriplegic. Gary has learned to be very independent but still comes across frustrations in his daily routine, particularly around hand mobility and grip.
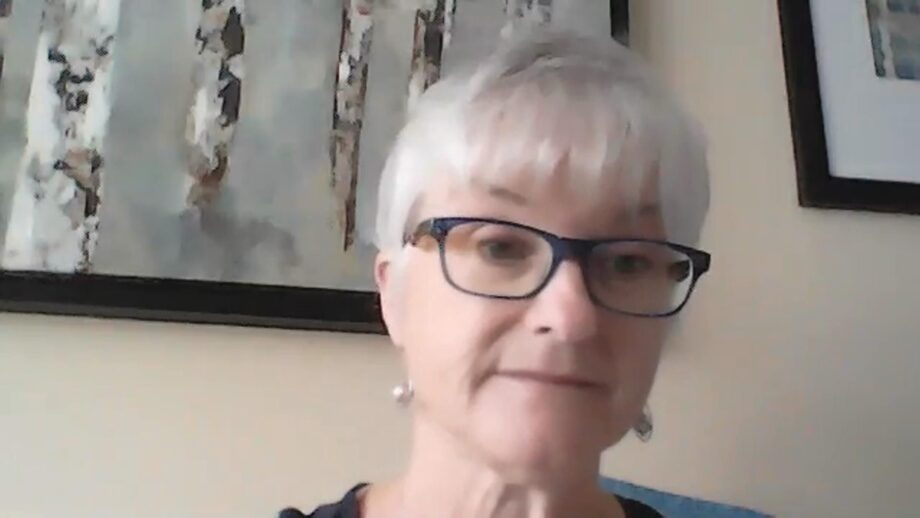
Raeanne lives at home with her husband and 2 children. In 2019, Raeanne had a fall and hit the side of her face, resulting in a fractured eye globe. Since the accident, she has struggled with several activities, including navigation, depth perception, and identifying colours and orientations of clothing.
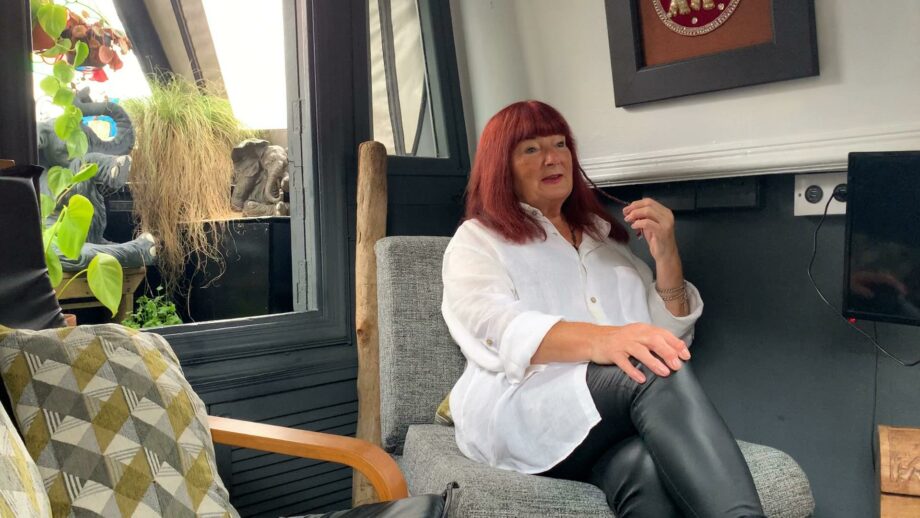
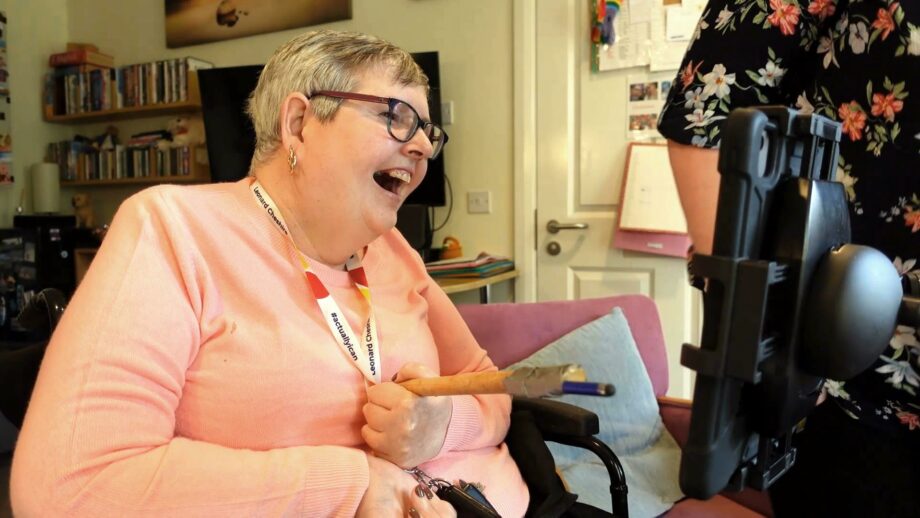
Cath is 76 years young and is at her happiest when she is making things! She lives with her partner Paul on a narrowboat and loves the freedom it provides them with. She developed osteoarthritis in her knees when she was 50 and it has progressed to other areas of her body, such as her hands.

Chase has been an avid assistive technology user for over 13 years. He has spinal muscular atrophy (SMA) type 1, which causes muscle weakness. Chase is particularly interested in assistive switches to help control phones and computer devices.
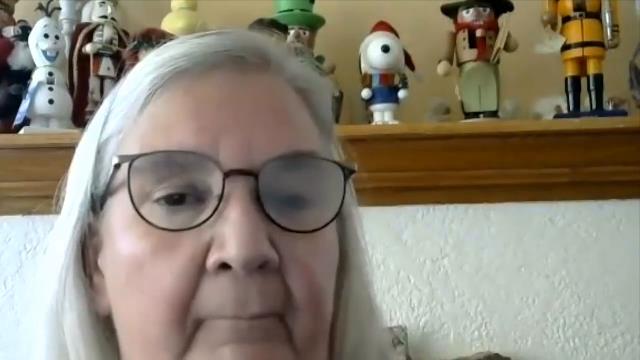
Brenda is a writer with benign essential tremors and osteoarthritis. Brenda’s tremors are genetic and have been present since birth. Combined with the osteoarthritis, she struggles to use her dominant right hand and arm for various tasks.
Ean owns his own business and loves travelling overseas. He has spinal muscular atrophy (SMA) type 2, and on his hands, he is only able to move his thumbs. Ean is able to have an active lifestyle with the help of assistive technology, and is seeking multi-functional switch buttons to further support his activities.
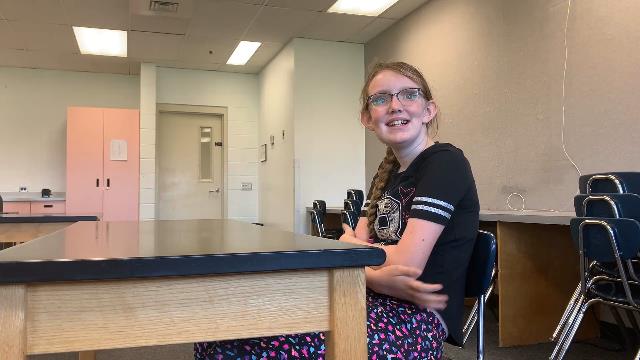
Michelle is a student who has hypertonia, which causes extreme muscle fatigue. She is seeking solutions to help her to make notes in class, or use felt tip pens without breaking them.
Bev had a stroke in 1994 and has used a wheelchair since then. She uses assistive technology for various activities, including reading on her kindle app and playing solitaire on the computer. She is now seeking solutions to help her better control her TV.
Terry suffered from a stroke over 20 years ago, which left her largely paralysed on her right side. She is seeking solutions to help her with walking, as well as general activities around the house, such as opening jars and cooking.
If you decide to design a solution for a Champion, you may not be able to speak directly to them. However, at the end of the challenge, we will be selecting several entries to:
If you opted to design for a Make:able Champion:
As part of global data protection and student privacy laws, we must obtain consent forms for any media we share publicly – whether this be for judging, community updates, or promotion of the challenge. Please take a look at the below consent forms and complete if relevant to you. In the last toolkit, you can scan them digitally and upload them with your submission, but we recommend getting them done as soon as possible.
This form should be completed and signed by parents of any team member under the age of 16 if there is personally identifiable information in any submission material. For example, if their faces or full name are shown in the submission video.

This form should be completed and signed by any end users who are personally identifiable in your submission material. It is not required by those designing for Make:able Champions.
Here is a selection of optional resources that you may wish to watch/use, depending on your challenge context and time constraints.
Last year, PrintLab’s lead designer, Rob, participated in the Make:able Challenge! He designed a solution for a Make:able Champion, and you can view each stage of his design journey in the ‘Additional Resources’ section of each toolkit. In this first video, you’ll learn more about Rob and his background as an industrial designer.
Check out these top 5 tips for designing assistive devices with 3D printing - courtesy of Dave Gaylord, Biomedical Engineer and VP of Product and Technology at MatterHackers.
If you’re a teacher or instructor guiding participants through the challenge, check out our instructor resources, which include lesson plans, curriculum alignment documents, rubrics, webinars and more.
Did you know that every US State has something called a State Assistive Technology Act Program (AT Act), which aims to increase access to assistive technology (AT) devices and services for individuals with disabilities. If you’re based in the US, you may wish to reach out to your local AT Act for collaboration opportunities. Take a look at TechOWL’s presentation about AT Acts.
Before moving on to the next toolkit, you should have achieved the below objectives.
If you are using the workbook, you can tick these off at the bottom of Section 1, and make note of any key learnings or important things to remember.
Go to Next Toolkit – Get Inspired