Printlab Autodesk

3 – Skill Building

In this Make:able toolkit, you’ll be learning new and modern technical skills that you can apply to your own unique assistive device further into the project. Watch the overview video below before participating in one (or more) of the design tutorials available in the toolkit. Try and select tutorials that might teach you relevant skills for your own project.


Before you participate in tutorials, select an Autodesk 3D design software to use throughout the challenge and ensure your account is set up. We recommend Tinkercad for students in the under 14 category and Fusion for 14+ age groups. If you need help in choosing your software, check out the information below.

Tinkercad logo overlaid onto an image of 2 students working on a laptop.

Tinkercad

Tinkercad is a free, browser-based 3D design, electronics and coding app made by Autodesk. With a 'digital lego' framework, it is the perfect entry point for people getting started with 3D design, yet it’s got the versatility and complexity to design almost anything you can imagine.

Watch Overview Video

Autodesk Fusion logo overlaid onto an image of a laptop with the Fusion workspace on.

Autodesk Fusion

Fusion is a cloud-based, full product design platform used amongst innovative and creative industries. Its comprehensive set of tools enable you to design with precision, render realistic images, simulate loads, animate joints and much more. The amazing thing about Fusion is that it’s intuitive and user-friendly enough for beginners to get to grips with – and it’s completely free for educators, students and hobbyists.

Watch Overview Video

Workbook
  • In Section 3 of the workbook, review each title and select the circle that best represents your team’s skill level in that category. The scale ranges from beginner to expert, with five levels to choose from.
  • Once completed, review the page to see what areas you could potentially build new skills in.

PrintLab is our online platform of 3D printing courses and projects that help you develop the technical and creative skills to design meaningful assistive devices. Below is a suggested learning pathway — a step-by-step guide through key PrintLab resources to help you prepare for the Make:able Challenge. You don’t need to complete everything; even one or two courses can build valuable skills and spark ideas.

Although PrintLab is a paid subscription, you can explore and participate in these resources using our free trial. At the end of the trial, you can decide whether to subscribe for continued access. When you’re ready to start learning, begin your free trial using the link below, then explore the pathway and participate in your chosen courses. If you’re a student under 18, please ask your teacher to sign up for the trial on your behalf so they can share the resources with you.


Start PrintLab Trial


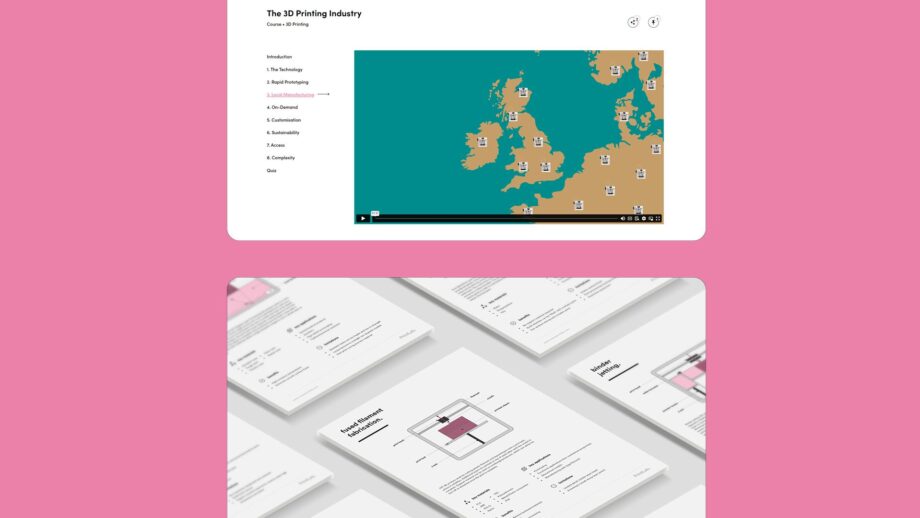
2 website screens showing course content from PrintLab's 3D Printing Industry and Technologies courses.

STEP 1: 3D Printing Knowledge

Begin by participating in our 3D Printing Industry mini course to learn about the key aspects of the 3D printing industry – from rapid prototyping and local manufacturing to customisation, sustainability and mass global access. Then go through the 3D Printing Technologies resource to learn about 6 key types of 3D printing technologies.

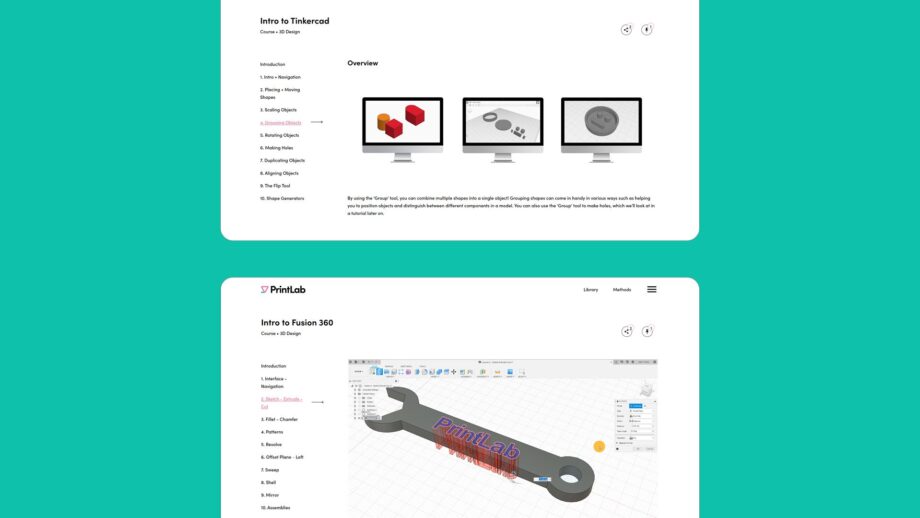
2 website screens showing course content from PrintLab's Intro to Tinkercad and Fusion courses.

STEP 2: 3D CAD Basics

Learn the core 3D CAD skills you’ll need for Make:able by completing either the Intro to Tinkercad or Intro to Fusion 360 course. Each course introduces essential modelling tools and techniques — helping you design, refine, and prepare 3D models ready for printing.

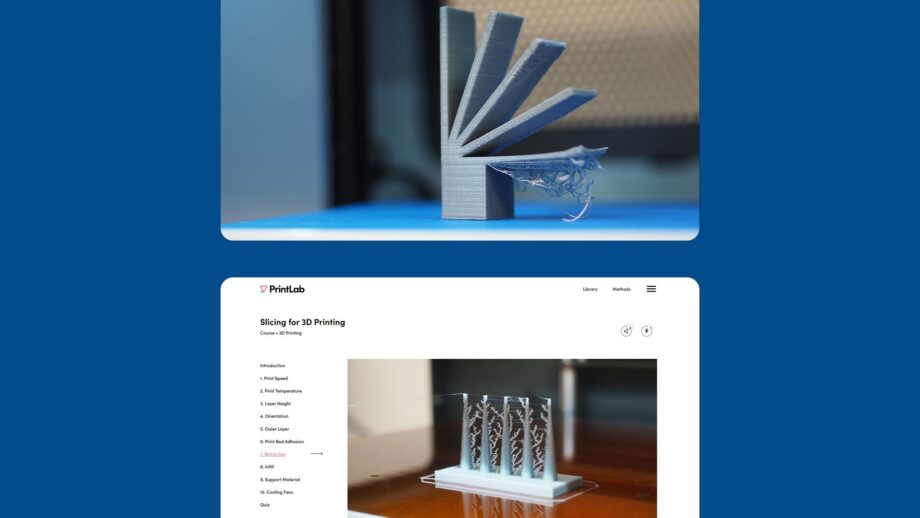
2 website screens showing course content from PrintLab's Designing for 3D Printing and Slicing courses.

STEP 3: Designing + Slicing for 3D Printing

Our Designing for 3D Printing course covers the best practices for designing specifically for 3D printing. And our Slicing for 3D Printing course goes over 10 essential slicer settings to help get the most out of your 3D printer. Participating in both courses will provide you with key knowledge that can be applied to your upcoming 3D designs.

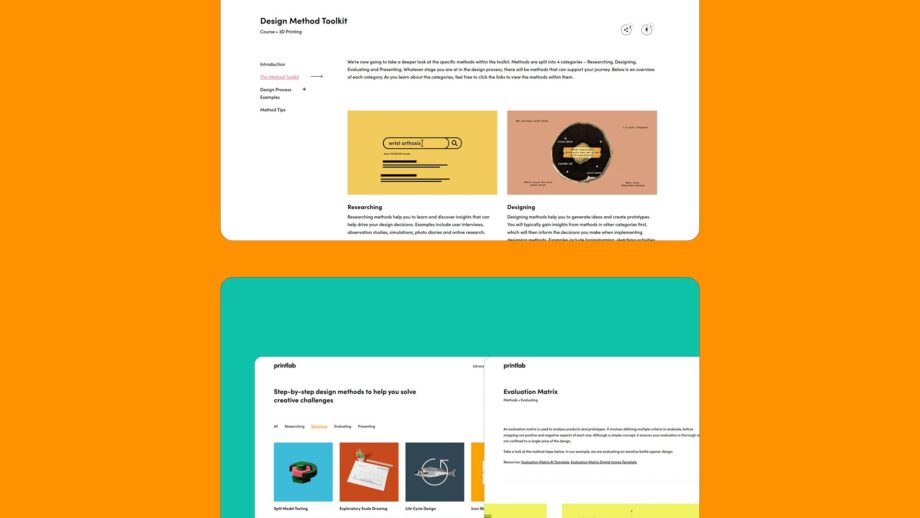
2 website screens showing course content from PrintLab's Design Method Toolkit.

STEP 4: Understand the Creative Process

Before starting your design projects, it’s important to understand how designers approach creative challenges. PrintLab’s Design Method Toolkit introduces a range of step-by-step activities for researching, generating ideas, prototyping, evaluating, and presenting. And by going through the Design Method Toolkit resource, you’ll learn how to plan and implement these activities in your own projects.

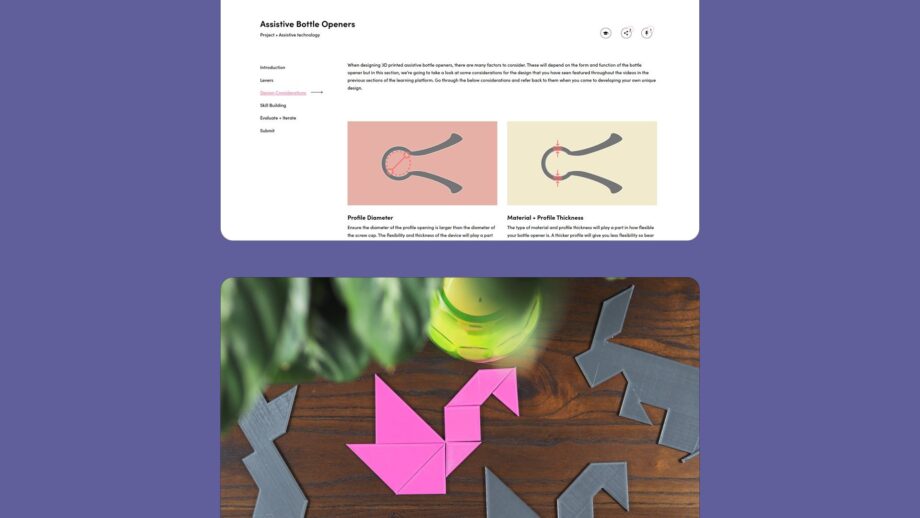
2 website screens showing course content from PrintLab's Bottle Opener and Tactile Tangram projects.

STEP 5: Beginner Assistive Tech Projects

Our Assistive Bottle Openers and Tactile Tangram projects are great starting points for beginners. They guide you through the full design process to adapt/modify existing designs. You’ll also be introduced to various design methods, such as evaluation matrixes and real-time prototyping techniques.

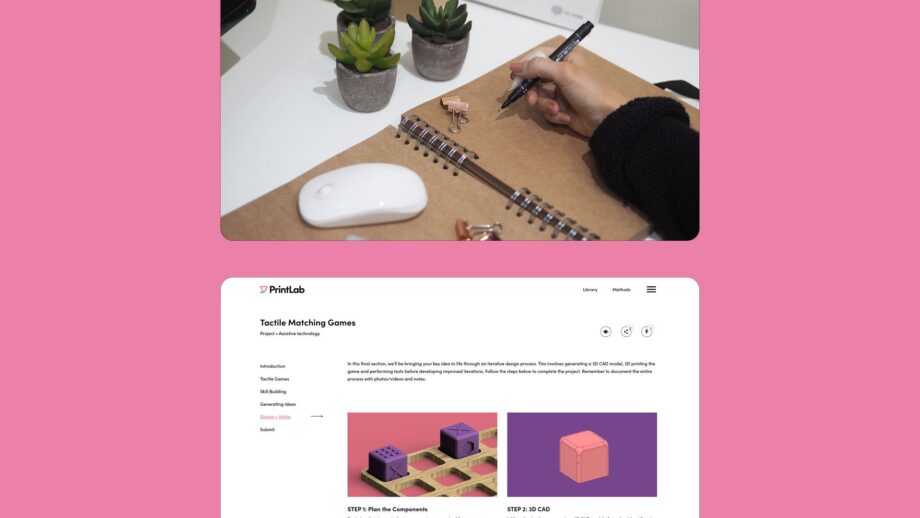
2 website screens showing course content from PrintLab's Assistive Clips and Tactile Games projects.

STEP 6: Projects with Creative Freedom

Our Assistive Clips and Tactile Matching Games projects are similar to the beginner resources introduced in STEP 5. Again, they guide you through the full design process using various design methods. However, rather than adapting/modifying an existing design, you’ll have more creative freedom to develop a unique solution.

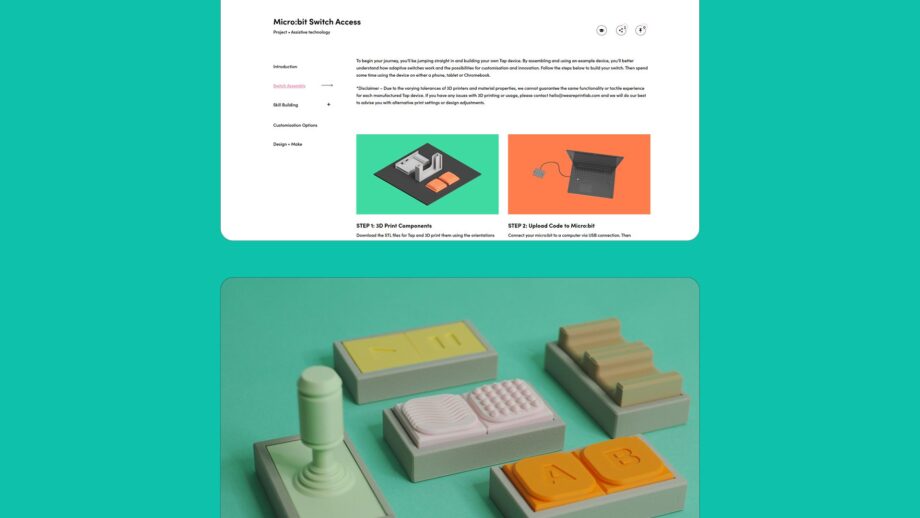
2 website screens showing course content from PrintLab's Micro:bit Switch Access project.

STEP 7: Electronics + Coding

The possibilities with 3D printed assistive technology are vast - but when you combine it with electronics and coding, the potential grows even further. Our Micro:bit Switch Access project guides you through designing a Bluetooth dual-switch device that empowers people with disabilities to control phones, tablets, and computers. Along the way, you’ll develop practical skills in coding, electronics, and inclusive design - taking your creativity and technical ability to the next level.

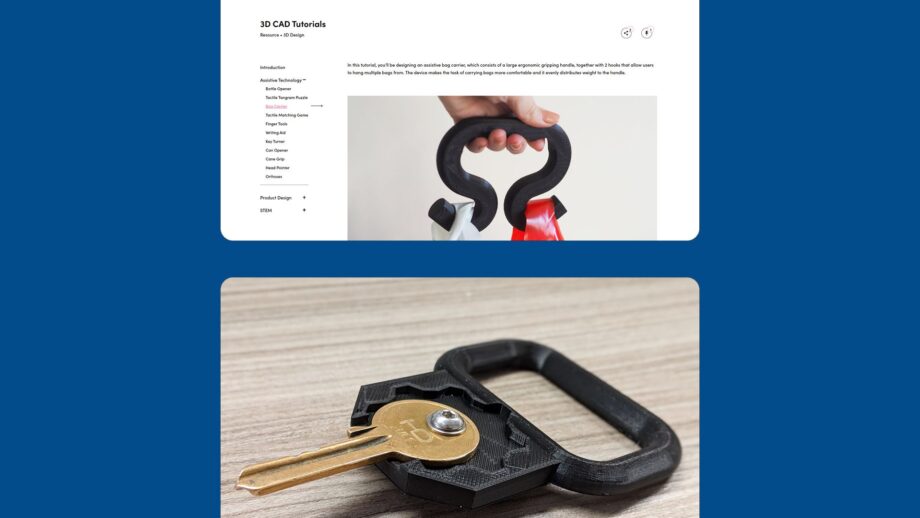
2 website screens showing course content from PrintLab's 3D CAD Tutorial toolkit.

STEP 8: Additional CAD Tutorials

If you opted to use Tinkercad from the beginning, you may wish to have a go at the more advanced 3D CAD software, Fusion 360. This can be done by using our Tinkercad to Fusion 360 course, or our Intro to Fusion 360 course. You can also explore additional 3D CAD tutorials in the Tools Library, including a range of assistive device tutorials you may not have completed yet.

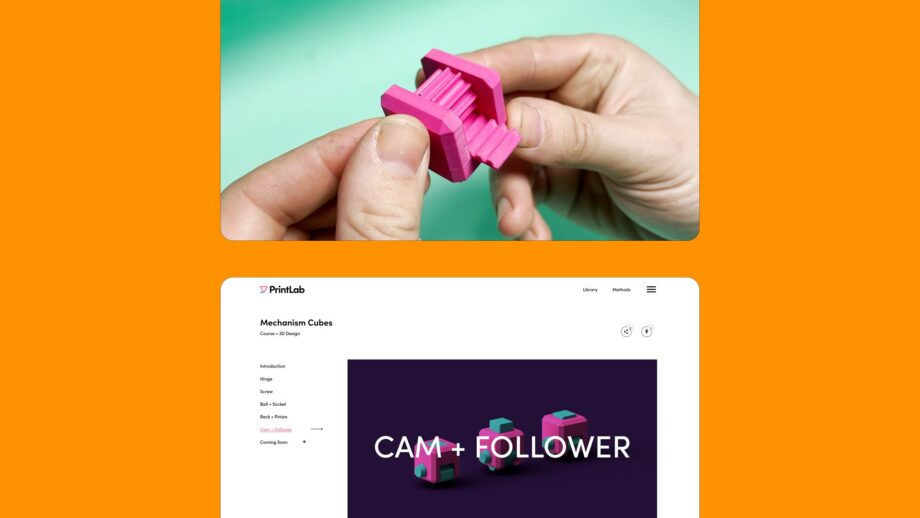
2 website screens showing course content from PrintLab's Connections and Mechanisms course.

STEP 9: Connections + Mechanisms

Our Mechanism Cubes course is an intermediate-advanced resource, where you’ll be introduced to the fascinating world of 3D printed mechanisms. The creative learning resources will teach you how to add connections and movement to your 3D models – unlocking new and innovative design possibilities.

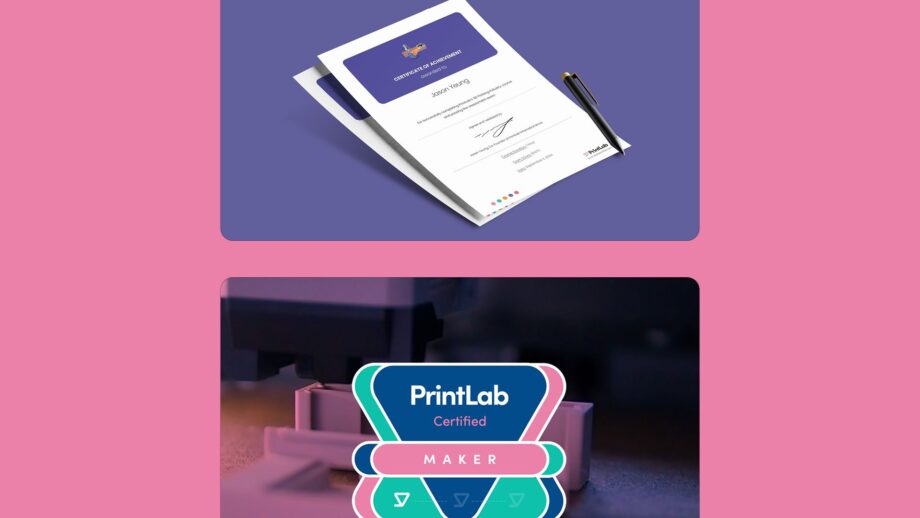
2 images showing certificates from PrintLab mini courses, together with PrintLab's digital maker certification badge.

PrintLab Certifications

If you’ve completed (or partially completed) this learning pathway, you can submit your mini course certificates, project portfolios, and challenge submissions to earn industry-recognised digital badge certifications. These verifiable micro-credentials are ideal for sharing on your email signature, résumé, or digital portfolio — helping you showcase your 3D design and assistive technology skills. Learn more on the PrintLab 3D Printing Certification page.

Workbook
  • After you have built new skills using PrintLab courses, or other methods, go ahead and update Section 3 of the workbook to better represent your skill levels.

*Tip – Don’t worry if you haven’t become an expert in everything. Many concepts and skills will be developed as you go!

Here is a selection of optional resources that you may wish to watch/use, depending on your challenge context and time constraints.

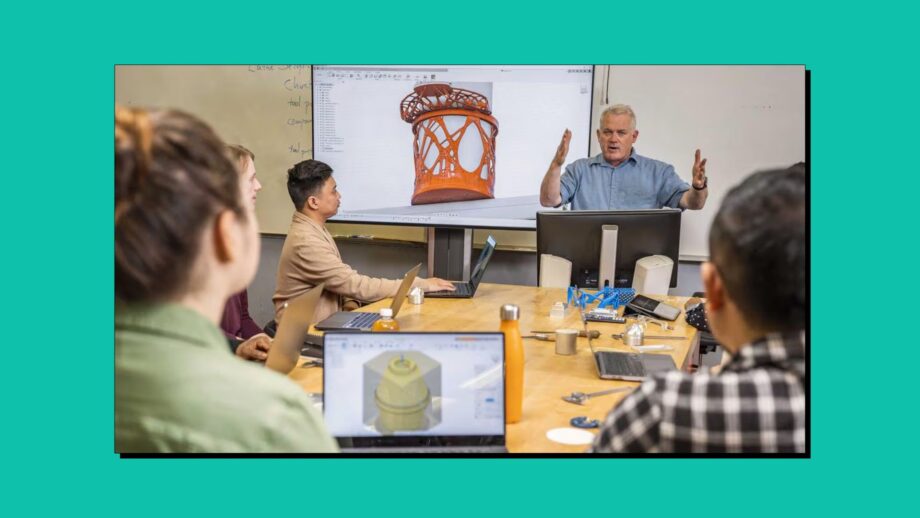
An Autodesk instructor teaching a class of students.

Free Autodesk Fusion Training for Educators

We've partnered with Autodesk to offer Fusion Fundamentals - a free, live virtual course designed specifically for teachers. In just 12 hours (delivered over 2–3 days, depending on your location), you’ll learn the essential skills needed to teach Fusion CAD with confidence.

Learn More + Register

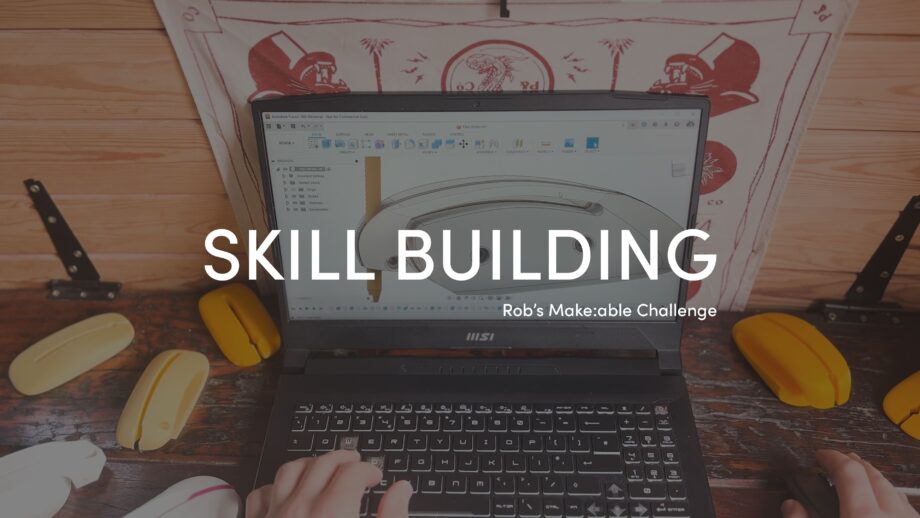
A laptop showing the 3d cad model of an assistive writing aid, with the title 'Skill Building' overlaid in white bold text.

Rob's Challenge

In this stage of Rob’s Make:able Challenge, he shares his top 5 tips for building 3D design and 3D printing skills.

Watch Video

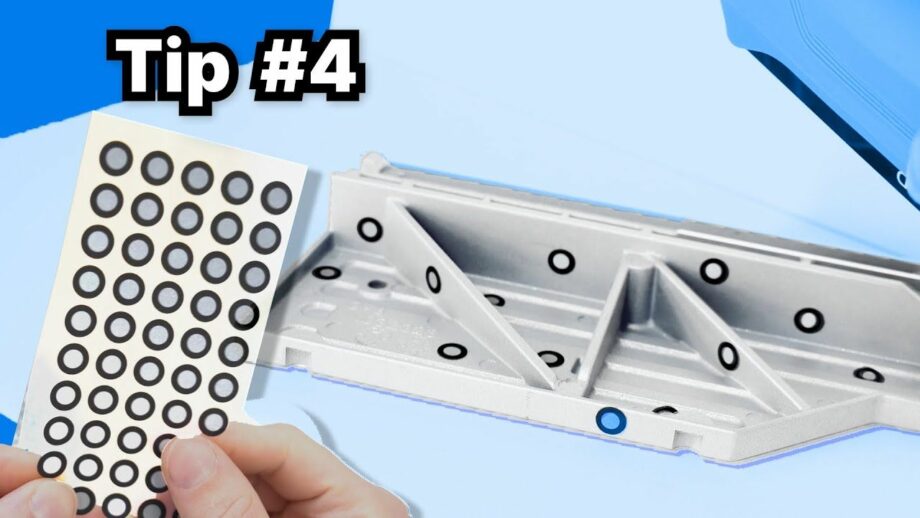
An engineering part with 3D scanner stickers spread across it.

3D Scanning Tips

Interested in using 3D scanning with 3D printing? Product Design Online share 7 3D scanning tips for unbeatable results. The tips shown are based on using the Einstar 3D scanner but are also relevant to other light based 3D scanners.

Watch Video

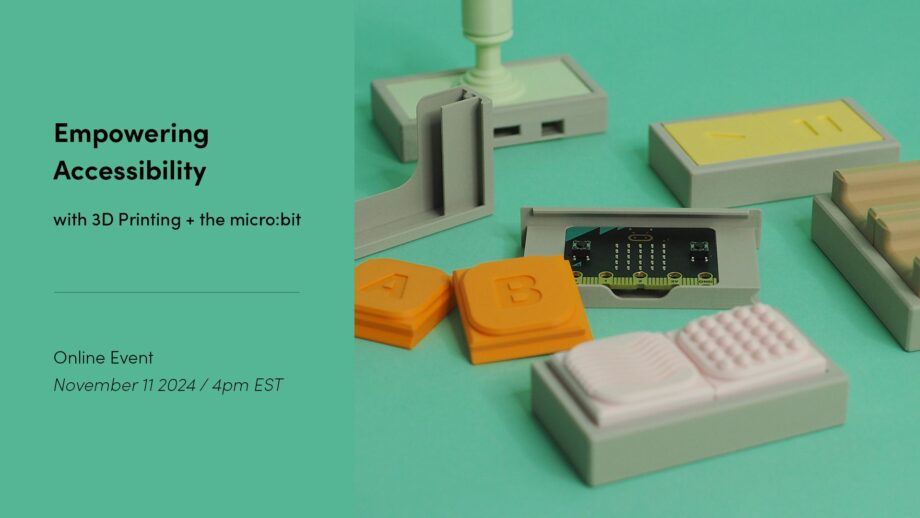
Empowering accessibility virtual event poster showing the date November 11 2024 / 4pm EST.

Switch Access Webinar

Interested in switch access? On November 11 2024, we hosted a live virtual event in collaboration with occupational therapist Loreto Dumitrescu and teaching Professor at Washington University, Bill Siever. The presentation focused on the use of 3D printing, the micro:bit, and MakeCode to create assistive switch devices.

Watch Presentation


Before moving on to the next toolkit, you should have achieved the below objectives.

  1. I have selected a 3D design software to use.
  2. I have developed the necessary skills to design and make an assistive device for a real end user.

If you are using the workbook, you can tick these off at the bottom of Section 3, and make note of any key learnings or important things to remember.


Go to Next Toolkit – Develop Empathy