Printlab Autodesk

6 – Design + Make

In this Make:able toolkit, we’ll be guiding you in bringing your key idea to life in the form of an initial 3D printed prototype. Watch the overview video below before browsing through the design + make methods and tips. Then use your key learnings to plan and implement a strategy to create a 3D printed prototype. A key point to remember is that this is an initial design, which should evolve over time. Therefore don’t be too precious with the small details.


A page of industrial design sketches with the text 'And keep flowing!' overlaid.

Sketching

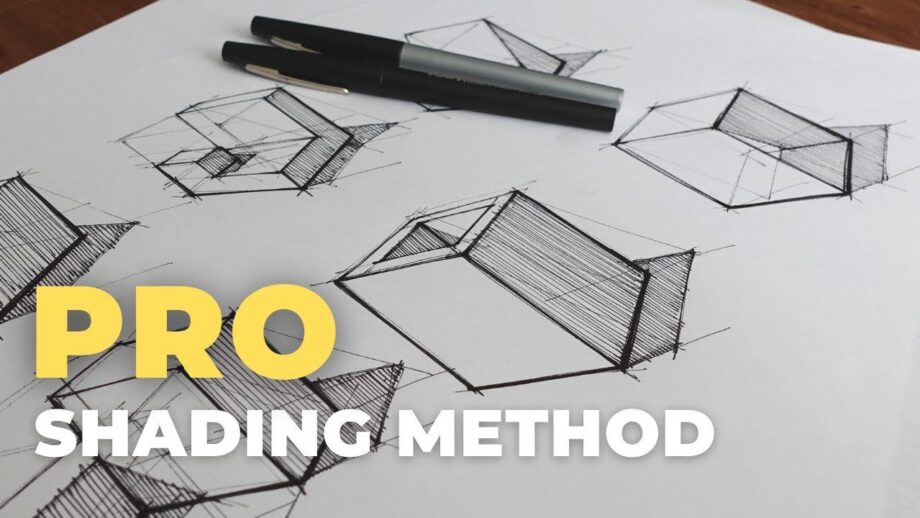
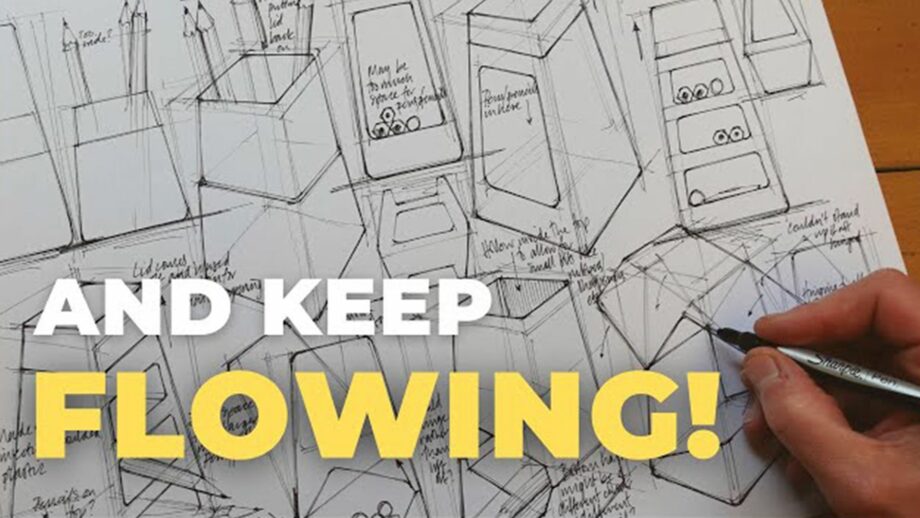
Sketching in a free flowing manner is a great way to transform ideas into designs. Check out the video below from the Product Designer Maker YouTube channel, where Chris shows us how to build ideas on paper, rather than to simply record ideas which have already formed in our heads. Don't forget to check out the other amazing videos on his YouTube channel!

Watch Video

Rough Modelling

Rough modelling involves the creation of quick, low-cost prototypes that are made up of readily available materials. They are an efficient and effective way of making tangible objects for visual or functional testing. Whether you opt to sketch, make rough models, or both - ensure you explore multiple design options.

3D CAD

3D CAD should be used after exploratory methods such as sketching or rough modelling. However, 3D CAD is much more than a bridge between idea and prototype. Visualising 3D models and exploring tools such as assemblies, simulations, renderings etc can really help to improve your designs. Therefore ensure you head into the 3D CAD stage with a dynamic mindset, where you're open to adapting and changing features as you go.

A 3D print bed with an assistive writing device on it.

3D Printing

When 3D printing your initial prototype, think about what materials and slicer settings will work best for your model. For example, you might want to explore a certain infill setting because your solution needs to meet weight and strength requirements. Or you might want to use flexible filament in some areas. Don't worry about getting it right first time though - that's what the testing and iterating phase is for!


Adam Hecht from DiveDesign.

Fail Fast + Often

Adam Hecht from DiveDesign provides us with his top tip for prototyping - to fail fast and often using readily available materials. Check out the video below and head over to the DiveDesign website (https://www.divedesignco.com/) to learn more about their exciting work.

Watch Video

Optimise Models for 3D Printing

Give your 3D CAD models a good check over to ensure they are 3D printable. This can save you huge amounts of time!

A person holding the hand of a young girl with a cane.

User Feedback

Don't be afraid or embarrassed to bring out rough and ready models to test with your end user. The best solutions are those that include the end user in multiple stages of the design process so if possible, get them involved as much as you can to critique your work.

Andy Lin sat next to a 3D printer.

Don't Overengineer

Andy Lin, Founder and Director of The Emerging Tech Lab at Rancho Los Amigos National Rehabilitation Center, talks to us about getting keeping it simple and building in complexity only if necessary.

Watch Video

Vincent from DiveDesign.

Area-Specific Models

Is your design made up of multiple aspects or components? Check out this prototyping tip from Vincent at DiveDesign, who talks us through rapid sketch models for specific areas of a design.

Watch Video

A student drawing assistive bottle opener ideas in her sketchbook.

Use your Strengths

There are thousands of ways to approach design and we highly recommend you work to your strengths. For example, if you excel in product sketching, put more emphasis on drawing. If you excel at 3D CAD, you might spend more time with digital shape explorations. When working in teams, figure out a way to make the most out of everyone's skills!


In this section, we highlight several examples of how other teams have documented the design and make stage of their journey.

Sketching

In the design and make stage, you may develop your initial ideas into detailed sketches that consider dimensions, materials, mechanisms and more. These can be documented as still images like you see here, or you might pan your camera across the drawings.

Rough Modelling

Rough models might not showcase beautiful, refined solutions, but if they were a key part of your design process, don’t forget to include them in your submission video. We particularly enjoy how this team transitioned from one angle to another.

3D CAD Screen Record

Screen recording is a great way to show your 3D design process. You don’t necessarily need to screen record the whole process – even a short clip mid-process will be a great addition to your submission.

3D CAD Action Shot

An alternative way to capture your 3D design process is to record footage from the side or back that includes your screen.

3D Printing

When documenting the 3D printing process, we encourage you to take short clips like this at different points during the 3D print. For example, you might capture a few seconds towards the beginning, in the middle and at the end.

B-Roll

B-roll in the design and make stage might consist of some ‘behind-the-scenes’ footage. This example shot works very well as it shows a team discussion with 3D printers operating in the background.

Prototype

You may consider showcasing your initial prototype by holding it up to the camera like in this example.

Assembly

Is your prototype made up of multiple components? Show us how it is assembled and how the parts fit together!


In this video, Rob will be sharing his journey in creating Cath’s initial prototype. Follow PrintLab on YouTube to be notified when the video is available!


Follow PrintLab on YouTube


Before moving on to the next toolkit, you should have achieved the below objectives.

  1. I can develop visual concepts and low-fidelity prototypes driven by a set of design criteria.
  2. I can develop a 3D printable digital model of an assistive device, based on my chosen concept.
  3. I can use 3D printing technology to manufacture an assistive device prototype.


Go to Next Toolkit – Test + Iterate