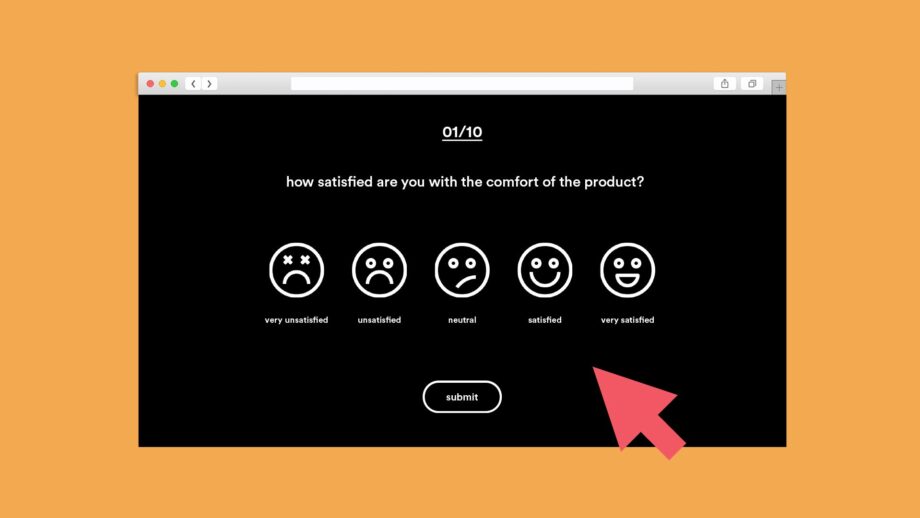
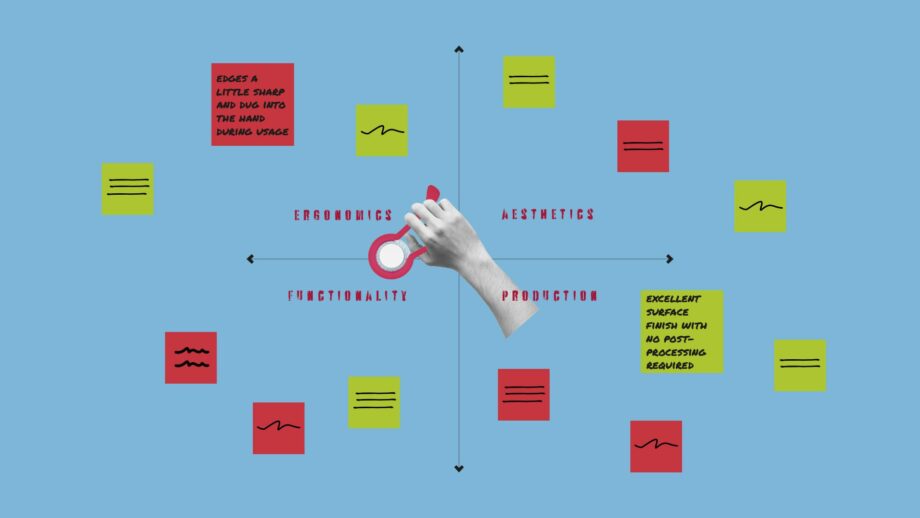
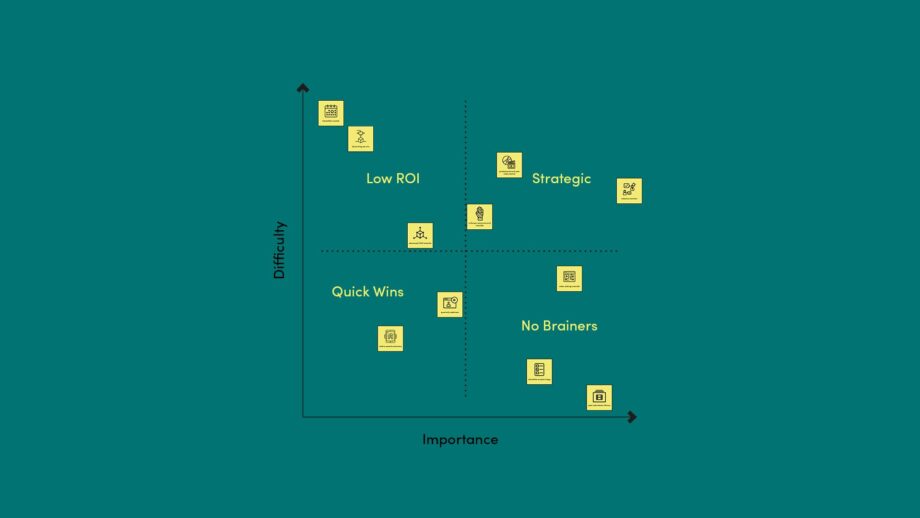
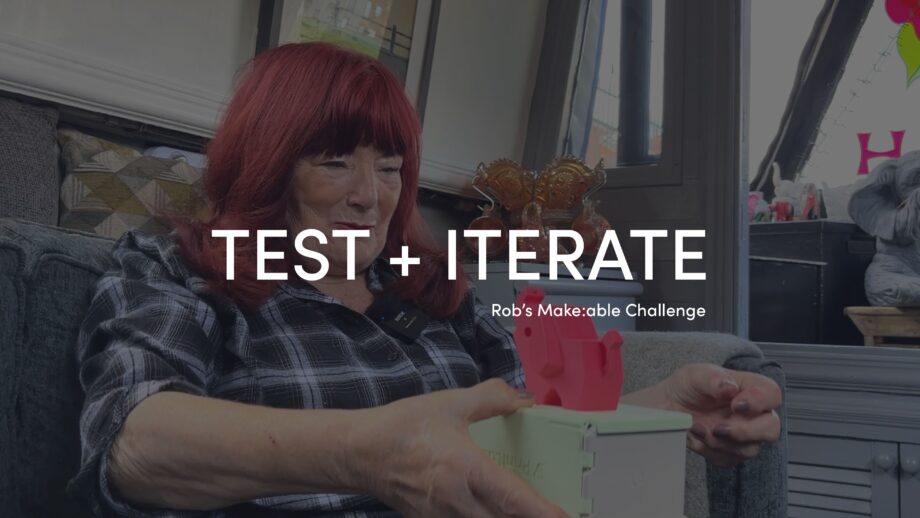
Printlab Autodesk

7 – Test + Iterate

In this Make:able toolkit, we’ll be guiding you in testing and refining your prototype until you reach a life-improving solution for your end user. Watch the overview video below before browsing through the test + iterate methods and tips. Then use your key learnings to plan and implement an iteration strategy. As you test and iterate, bear in mind how long you have left for the challenge and don’t forget to save some time to create and edit your video submission!


A person getting into their car using an assistive handle.

User Testing

The most effective way to improve your prototype is through end user testing. A good method to try is 'Think Aloud Testing', which involves your end user talking through their thoughts as they test your product. When performing user testing methods, refrain from putting words in your end user's mouth. Let them express their own thoughts and observe every action they take. Check out the user testing reel below for inspiration.

Watch User Testing Reel

Roleplay/Simulation

If you cannot meet with your end user for testing, roleplay and simulation activities are a great alternative. Even if you can meet your end user, you might want to consider doing this to experience first hand how your device works. Try and figure out the best way to simulate your end user's disability - whether this be blindfolding yourself, using an arthritis simulation glove or even taping parts of your body to restrict movement.

An example evaluation matrix.

Evaluation Matrix

An evaluation matrix can be used to analyse products and prototypes. It involves defining multiple criteria to evaluate, before mapping out positive and negative aspects of each one. Although a simple concept, it ensures your evaluation is thorough and not confined to a single area of the design. The method can be used in combination with user testing or team testing/simulations. Download the instruction below.

Download Instructions

Feature Variation Models

Feature variation models involve making and testing multiple prototypes simultaneously. The idea is to make each model the same with the exception of 1 design feature, which is varied across the models. By making, testing and analysing multiple models at the same time, you can save time during the design process and come to a decision on how best to design the feature you’re exploring. This method should be used when you have a particular design in mind but want to experiment with a certain aspect of it. Additionally, the method works best with small-scale objects that don’t take long to manufacture.


Kevin Kennedy from PDO in front of an Ultimaker 3D printer.

Iterative Design

Kevin Kennedy from Product Design Online (https://productdesignonline.com/) gives us an overview of iterative design and its purpose.

Watch Video

Embrace Failure

If you go in to the iterative design process thinking you're going to get it right first time, there's a good chance you'll be disappointed. Learn to embrace failure and have a positive mindset, even when you make mistakes (which you will!)

Honest Feedback

Your end user may be inclined to only give you positive feedback because they are appreciative of your efforts and don't want to offend you. In order to get them comfortable with being critical, let them know that you aren't expecting your prototype to be perfect and encourage them to be honest and constructive with their feedback.

Alex from DiveDesign.

Small Changes

Alex from DiveDesign provides us with his top tip for prototyping. Check out the below video where Alex talks us through the benefits of making small changes when iterating.

Watch Video


In this section, we highlight several examples of how other teams have documented the test and iterate stage of their journey.

User Testing

We recommend documenting as much footage of your end user as possible, including them testing your prototypes. When doing this, remember to ask for their permission and take measures to ensure they are comfortable throughout the process.

Iteration Models

Don't forget that we want to see your iterations. This team did a great job with this shot where they laid out their iterations on a table and captured a quick camera shot across them. Simple, quick and effective!

Part Testing

Don't be afraid to show iterations that don't look like fully refined solutions. We enjoyed how this team documented a functionality test of just a small part of their overall model.

Evaluation Methods

As with previous stages of the design process, you might want to show evaluation methods you used. In this example, the team shares a a top down view of an evaluation matrix. In their final video, they don't talk through every aspect of the evaluation matrix, but showing the short clip is evidence that the team went through a rigorous iteration process.

Close-Up Shots

Close-up shots of your iterations and final product are a great way to add contrasting elements to your final video.

Final Model Presentation

Showing your final product being used in context is much more powerful than simply photographing your 3D prints. Try and capture the moment your end user is presented with your solution but if this isn't possible, document some footage of your team using the product.

End User Interview

Whilst presenting your end user with their solution, why not ask them to talk about their thoughts and opinions on camera. If they aren't comfortable on camera, make notes of what they say and include this information as a voice over or text overlay in your final video.

Branding

Although not a requirement, branding your product can give your video a creative and professional look. Why not give your product a name and logo like in this example.


In this video, Rob will be sharing his testing and iterating process for Cath’s solution. Follow PrintLab on YouTube to be notified when the video is available!


Follow PrintLab on YouTube


Before moving on to the next toolkit, you should have achieved the below objectives.

  1. I can evaluate the functionality, ergonomics, aesthetics and production methods of my prototype.
  2. I can use my evaluation data to develop improved iterations of my prototype.


Go to Next Toolkit – Share your Story