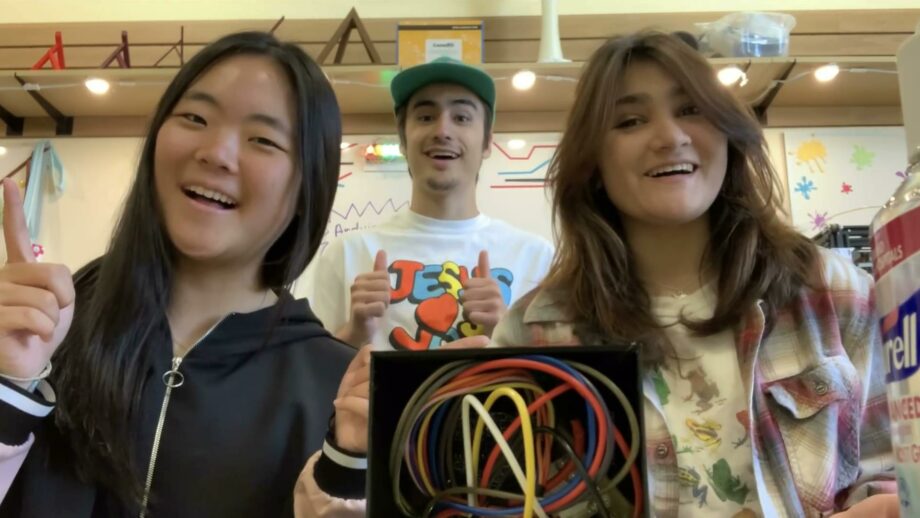
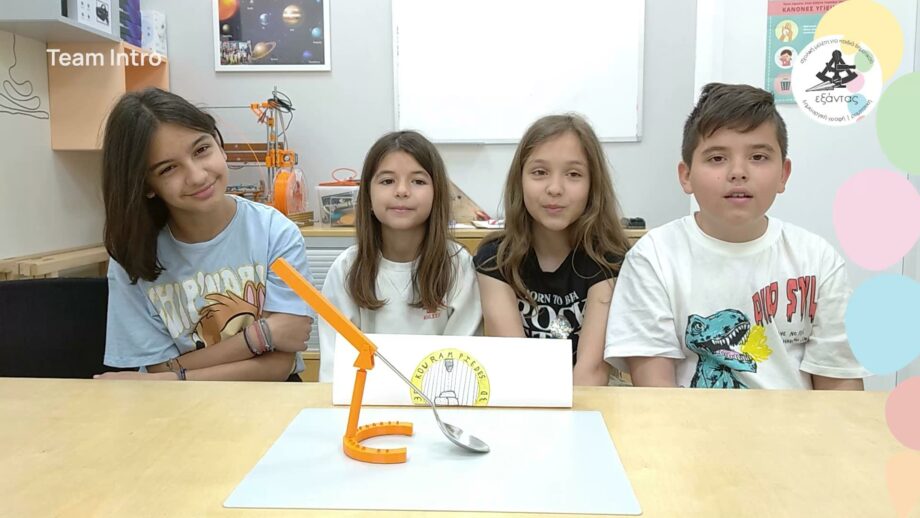
1. Team Intro
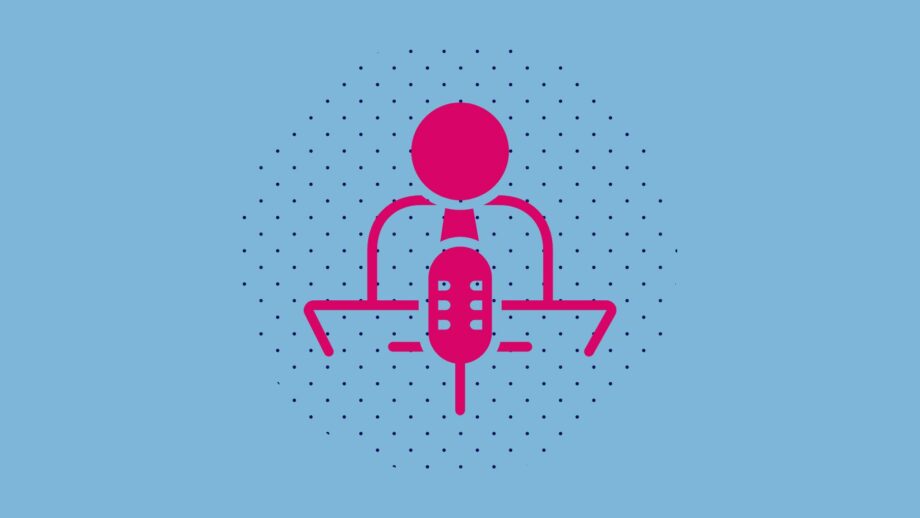
[≈ 10 seconds] Introduce your team very briefly. For example, tell us your names, team name and what school/organisation you are from. Check out some of the examples in the video reel below.
Welcome to the final Make:able toolkit. At this stage, you should have your final 3D printed product! We’re now going to guide you in curating your video and preparing your submissions. Throughout this toolkit, you’ll find:
Watch the overview video below before going through the sections to create your submission video. Then submit your entry using the online form at the end of the toolkit. Good luck and thank you for being a part of Make:able!
Here is an example video structure that you can use as inspiration for your own structure. Remember that there are hundreds of different ways to approach a great structure so don’t be obliged to follow the example.
[≈ 10 seconds] Introduce your team very briefly. For example, tell us your names, team name and what school/organisation you are from. Check out some of the examples in the video reel below.
[≈ 5 seconds] Giving the audience a quick snapshot of your solution right at the beginning can really 'hook' them into your video. This can be done just after the team introduction or even during the team introduction. Check out the 2 different examples in the video below.
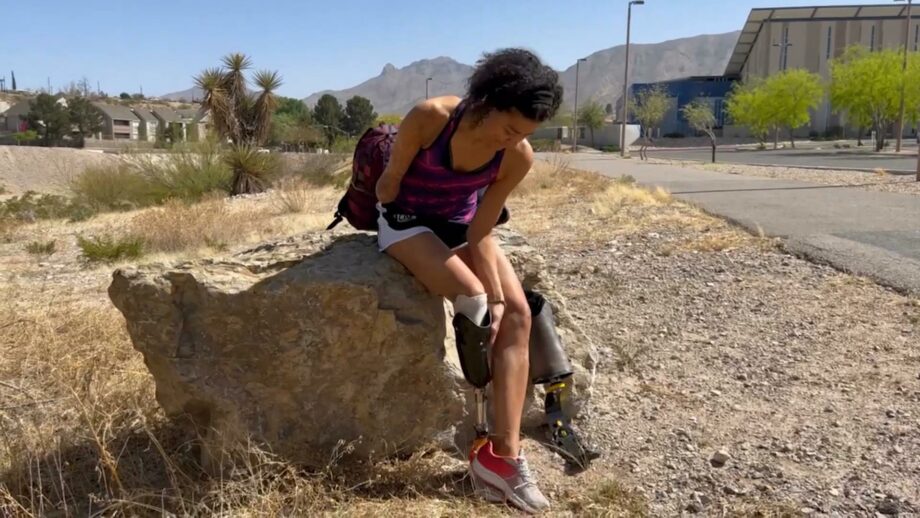
[≈ 15 seconds] Introduce your end user and tell us about them. Alternatively, and if they are comfortable doing so, have them introduce themselves! If you are designing for a make:able user, you might want to screen record part of their video and talk over the footage.
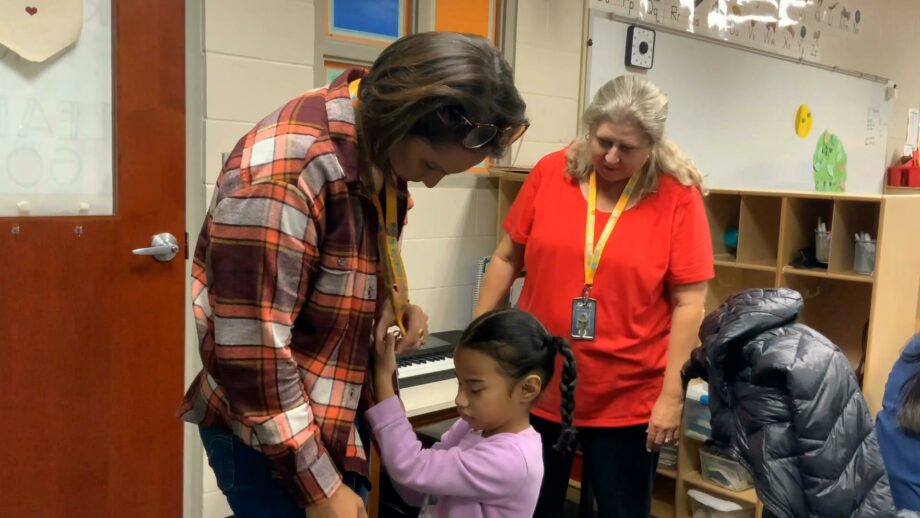
[≈ 30 seconds] Explain how you developed empathy for your end user, what you learned from it and what challenge you framed. This might be video footage observing them doing various activities, snippets from an interview with them, your own disability simulations, visuals of your challenge/empathy maps or various other techniques.
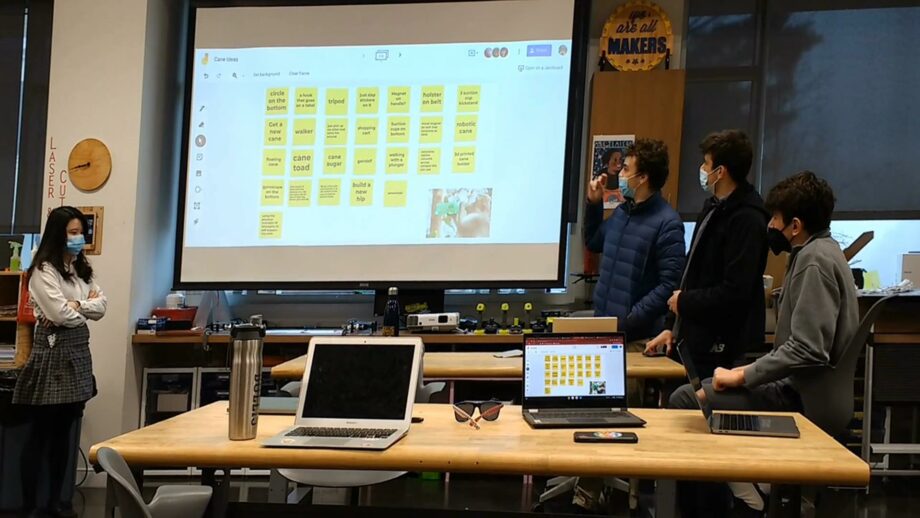
[≈ 15 seconds] Present your design ideas. Show the journey you took from generating a whole range of ideas to narrowing them down to a single concept and developing sketches, rough models and more.
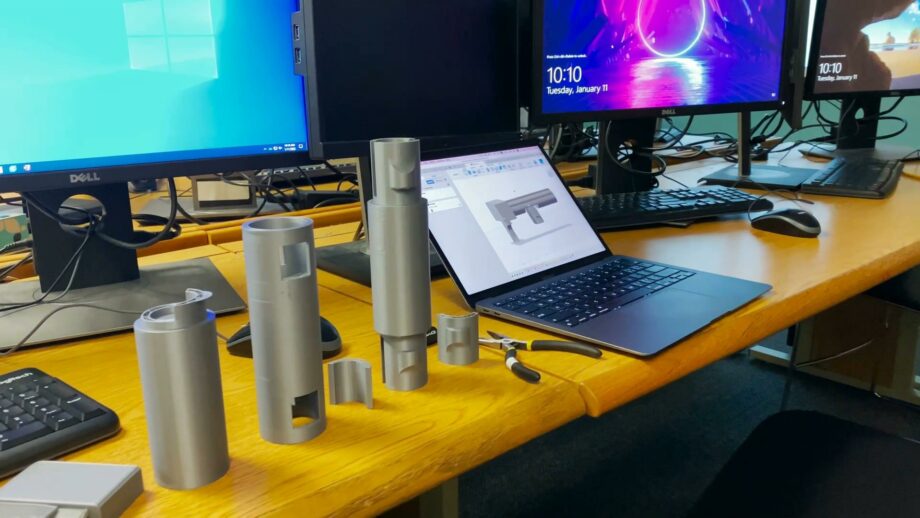
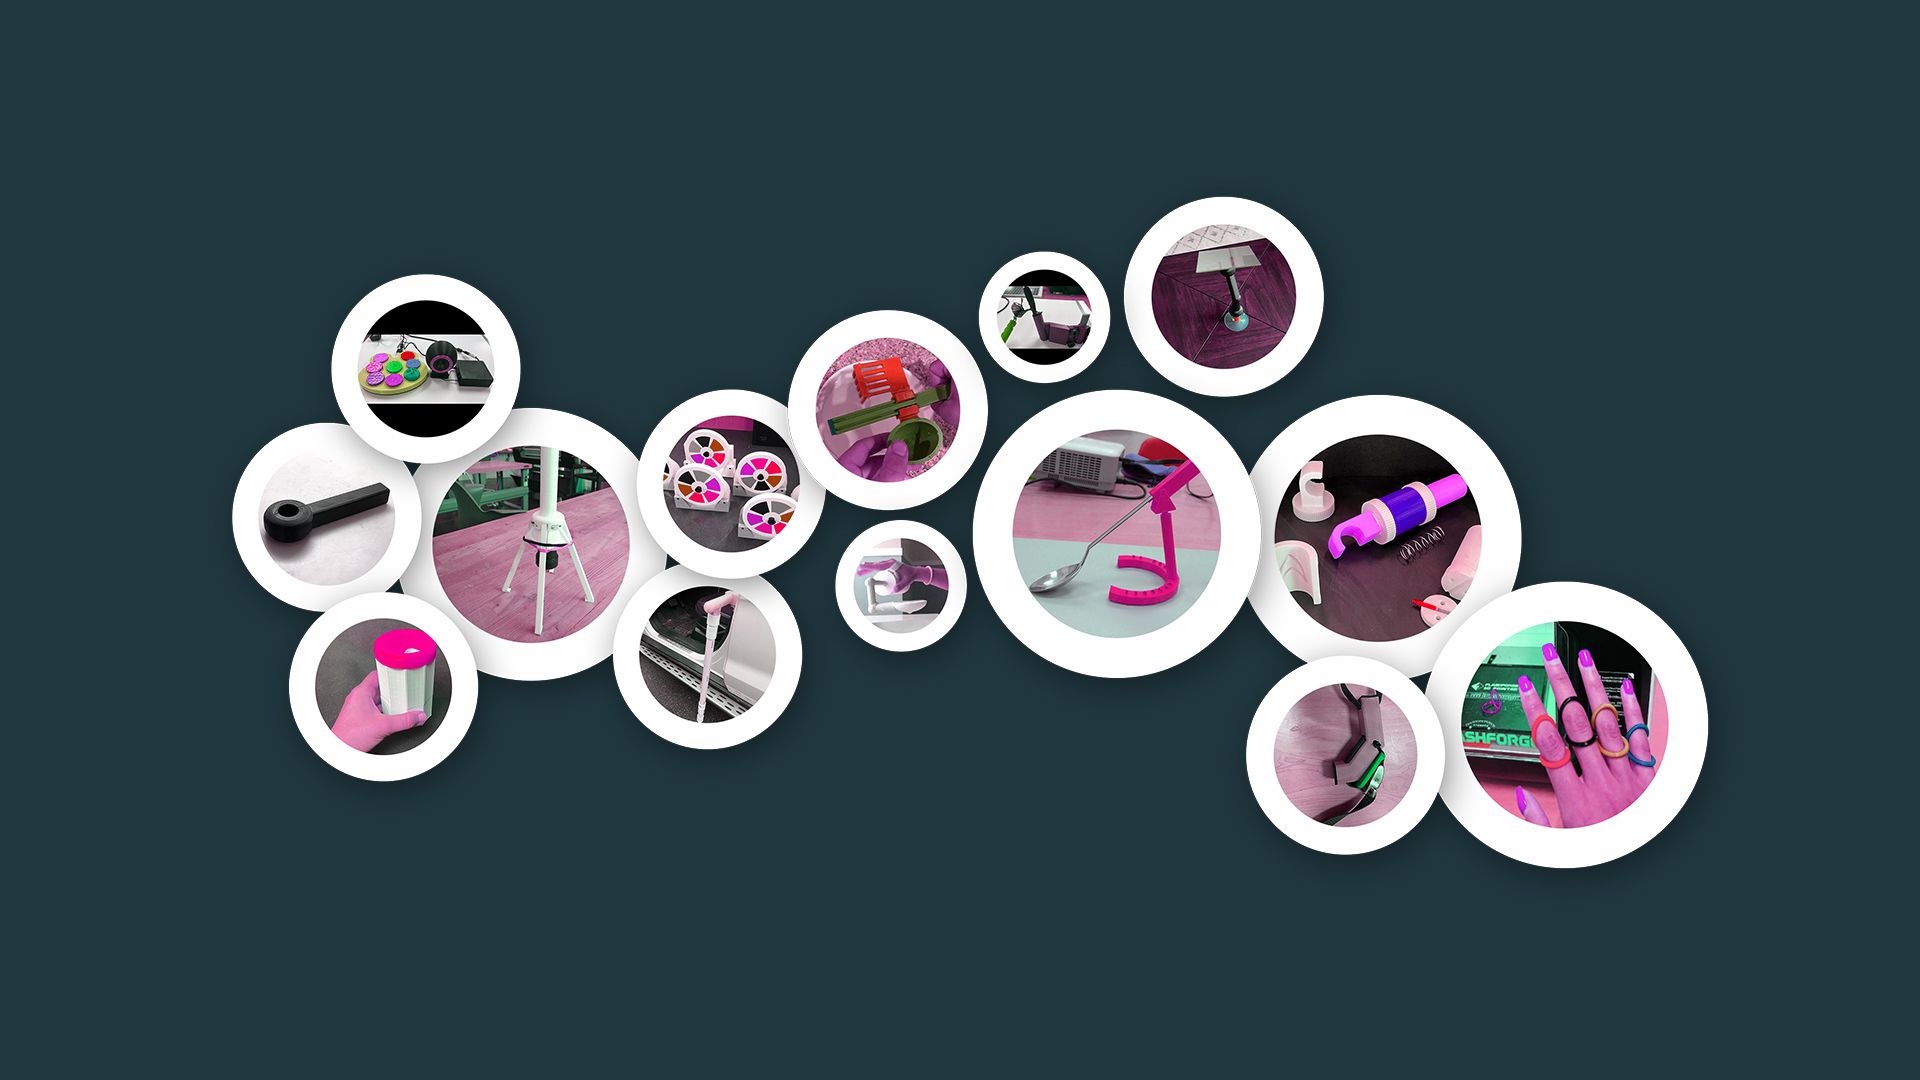
[≈ 30 seconds] Present your iterative design process, including snippets of 3D designing, 3D printing, testing and refining.
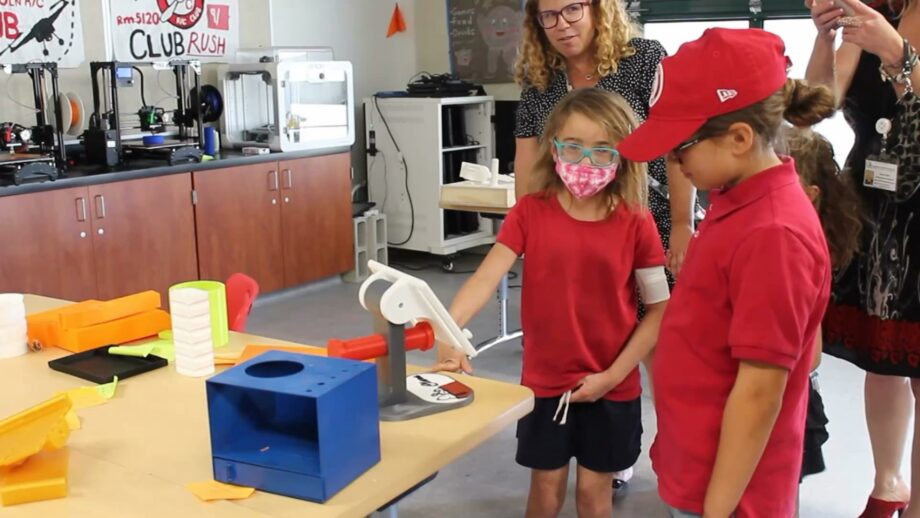
[≈ 20 seconds] Show your final solution in action! Ideally, this would be a demonstration that includes your end user.
[≈ 20 seconds] Finish your video with a short message from either your team or end user to summarise the impact of your device and your experience with Make:able
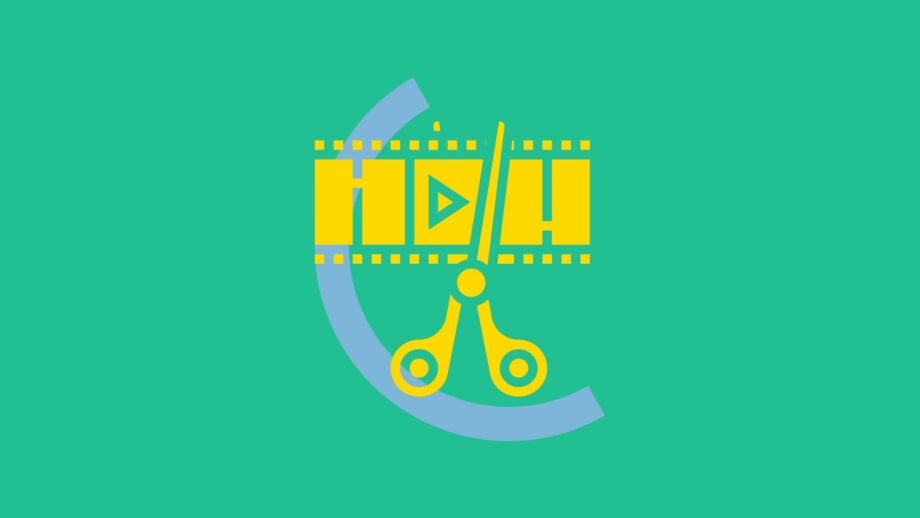
Here are a variety of tips and strategies to consider for your submission video. Once you’ve browsed through, make notes about what software you will use, the narration and music format, as well as any key tips to remember. Then create and edit your final video submission!

We recommend creating a storyboard to help you plan your scenes before heading creating and editing a video. For free video editing software, check out iMovie for Mac or OpenShot for Windows. Alternatively, use a software you are familiar with.
Decide whether you want to tell your story through voice narration over video footage, voice narration in an interview-style, or text overlaid onto your video. All options are perfectly fine! If you opt for voice narration, we recommend using some form of microphone for good quality audio.

Consider whether you want to add background music to your video. If so, a google search of 'royalty free music' will bring up a whole range of websites you can use. Try selecting something to match the mood and energy of your video.
If you study successful short videos, you'll notice that they rarely show the same scene for longer than a few seconds. Try and incorporate short clips of different viewpoints and angles to add variety to your video and to keep viewers engaged.

Pay careful attention to your selection of fonts, colours and effects throughout your video. Consider keeping a common theme throughout to reflect a professional brand.
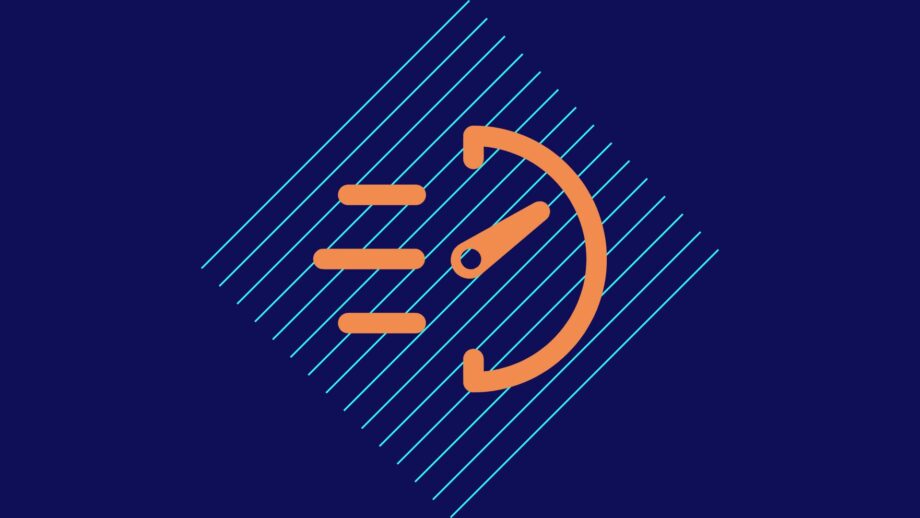
Although we allow videos up to 4 minutes in length, we recommend sticking closer to the 2 minute mark. A well-curated short video can have a bigger impact than a longer video that might lose viewer attention.
With your video complete, we’re at the final stretch! Go through the below information, which will guide you in preparing your submissions. Then submit your entries using the online form in the next section of the toolkit.
Once your video is complete, you have 2 options to share it with us. Option 1 involves uploading it to an online video platform such as YouTube or Vimeo. You can then include the video link in submission section of this toolkit. Option 2 involves saving the video file to an online storage platform such as Google Drive or Dropbox. The video file link can then be shared with us.
When submitting your high resolution image, try and select the image that best shows off your solution. This might be an image of it in use, or it might be a powerful rendered image.
As outlined in the first Introduction Toolkit, we must obtain consent forms for any media we share publicly – whether this be for judging, community updates, or promotion of the challenge. Once relevant forms are completed and signed, scan them digitally or take clear photos of them. These can then be uploaded to the submission form.
The remaining sections of the submission form are pretty self-explanatory but if you have any questions at all, feel free to reach out to us at hello@weareprintlab.com.
Before you submit your entry, you should have achieved the below objectives.
If you are using the workbook, you can tick these off at the bottom of Section 8 before using the submission form to enter your solution into the Make:able Challenge. The workbook also has a space where you can write a short reflection about your experience with the challenge.
Congratulations on completing the Make:able Challenge! You’ve designed a meaningful assistive device and made a real difference through creativity and perseverance. But this doesn’t have to be the end of your journey — if you’d like to take your project even further and prepare it for open-source sharing, explore our Beyond the Challenge toolkit to see how your design could impact people all over the world.
Go to Next Toolkit – Beyond the Challenge