Printlab Autodesk

5 – Design + Make

How to Use This Toolkit

Start by browsing the different steps, methods, tips and examples throughout this toolkit to get an understanding of the overall process. As you explore, make notes and consider which methods might be most suitable for your project. Once you’ve explored the toolkit, use your notes to plan your prototyping strategy and put it into action. Begin with Step 1 to develop your selected idea through sketching, rough modelling and other exploratory techniques. Then move to Step 2 to create a digital model and manufacture your initial 3D printed prototype.

Remember, your strategy doesn’t have to be fixed. You can revisit earlier methods, experiment with different approaches and make changes as you learn more about your design.
Develop Your Design

With your key idea selected, the next step is to develop it into something you can make and test. Before jumping into 3D CAD, it’s worth exploring your design through quick sketches, rough models or other hands-on methods. These can help you investigate important details such as size, shape, positioning, mechanisms and how different parts might work together. Explore the methods below and choose those most suitable for your project. The goal isn’t to perfect every detail, but to work through key design questions so you’re better prepared to create and 3D print your initial prototype.

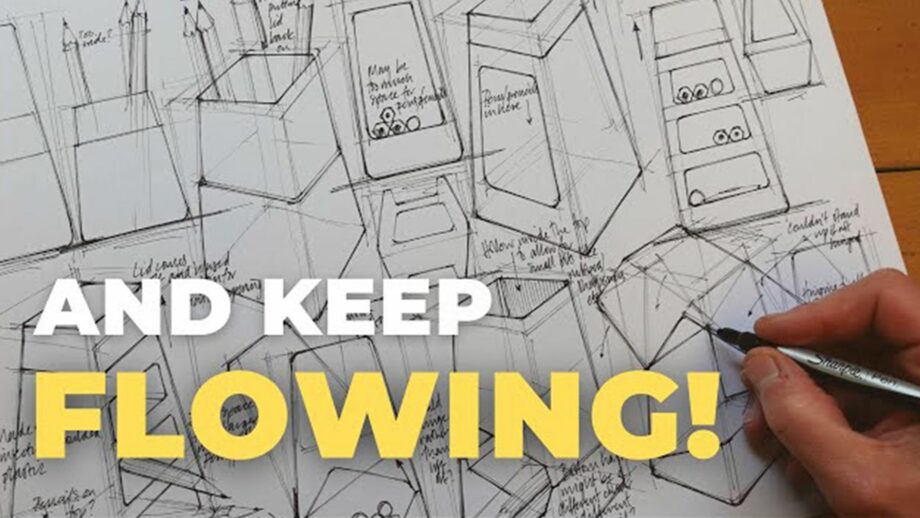
A page of industrial design sketches with the text 'And keep flowing!' overlaid.

Sketching

Sketching in a free flowing manner is a great way to transform ideas into designs. Check out the video below from the Product Designer Maker YouTube channel, where Chris shows us how to build ideas on paper, rather than to simply record ideas which have already formed in our heads. Don't forget to check out the other amazing videos on his YouTube channel!

Watch Video

Rough Modelling

Rough modelling involves the creation of quick, low-cost prototypes that are made up of readily available materials. They are an efficient and effective way of making tangible objects for visual or functional testing. Whether you opt to sketch, make rough models, or both - ensure you explore multiple design options.

Real-time Prototyping

Real-time Prototyping involves creating a reusable kit of parts that can be easily assembled, rearranged or reshaped. It's a great way to quickly experiment with different configurations, shapes and layouts without starting from scratch each time. Explore the method below to see how you can develop and compare multiple design options through hands-on experimentation.

View Instructions

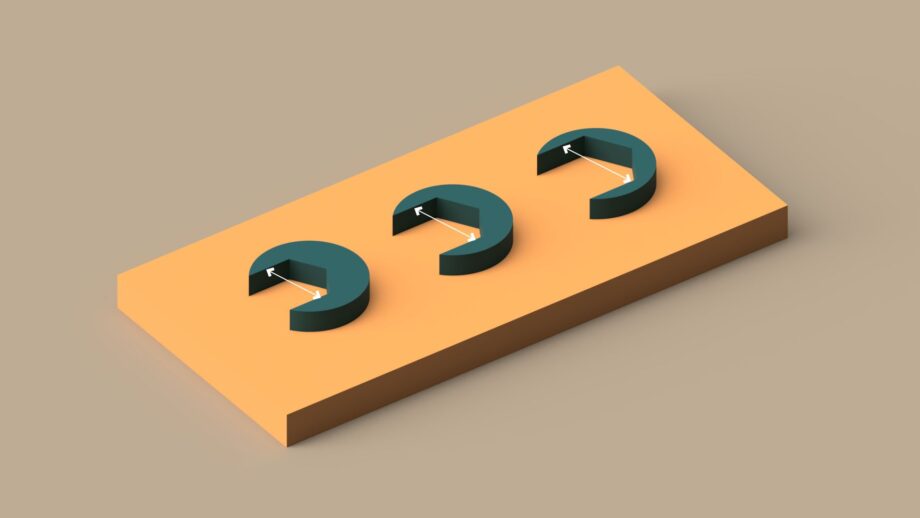
3D illustration showing three test models with different-sized wrench openings on an orange base, with white arrows highlighting the varying widths.

Split Model Testing

Split Model Testing involves isolating and testing specific features of a design without having to manufacture the entire prototype. It's particularly useful when developing larger or more complex products, where you might need to test an important mechanism, connection or dimension. Explore the method below to see how smaller test models can help you identify problems early and save time and materials.

View Instructions


Make your Prototype

With a clearer understanding of your design, it’s time to bring it to life as an initial 3D printed prototype. Start by creating a digital model in your chosen 3D CAD software, then prepare and manufacture your design. Below are a range of resources that can help you throughout this process, from developing your CAD skills to designing for 3D printing and getting successful prints. Explore whichever resources are most useful for your project. Remember, your first prototype doesn’t need to be perfect. The aim is to create something you can test with your end user and improve in the next toolkit.

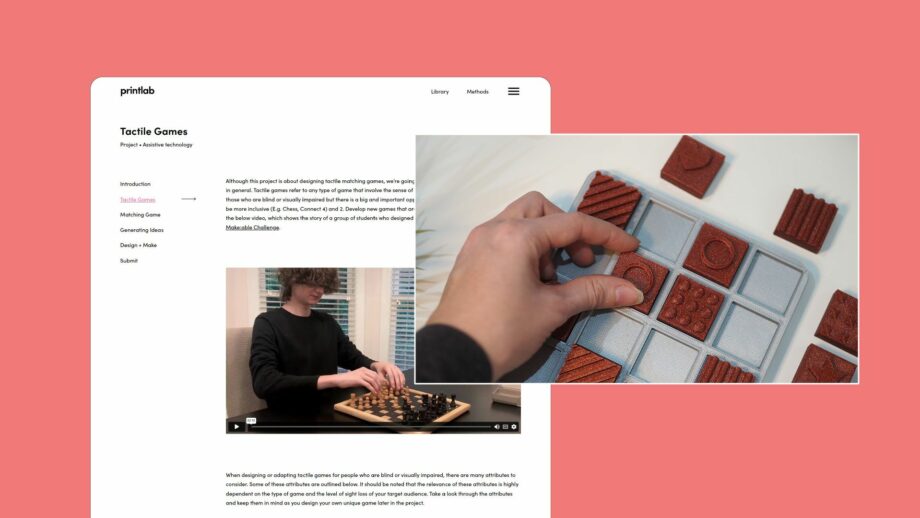
A website screen showing PrintLab's tactile games project learning platform.

3D CAD Skills

If you need help creating your digital model or want to develop your CAD skills further, PrintLab offers a range of step-by-step tutorials for Tinkercad and Autodesk Fusion. From learning the basics to exploring more advanced modelling techniques, you can access the resources through a free trial.

Explore PrintLab

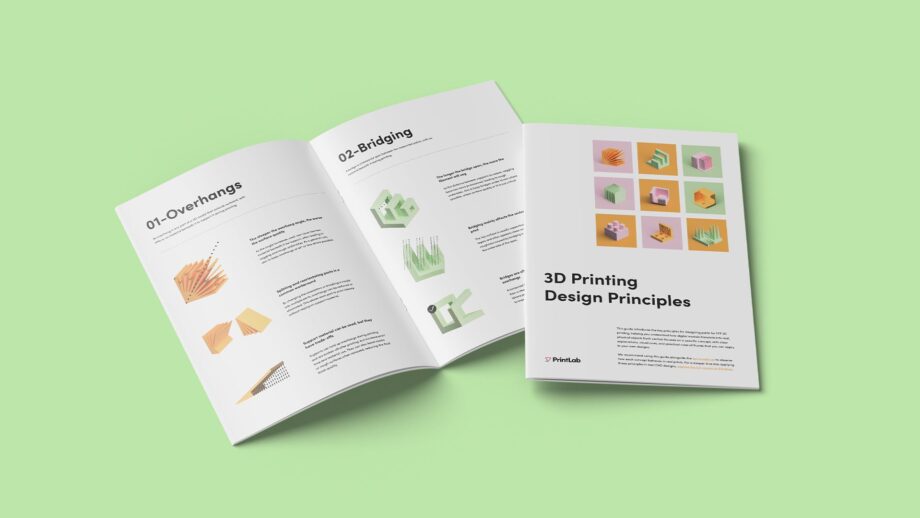
3D Printing Design Principles guide displayed as an open booklet and front cover on a light green background, featuring colourful illustrations of 3D printing concepts including overhangs and bridging.

Designing for 3D Printing

When creating your digital model, it's important to consider how your design will be 3D printed. Thinking about factors such as overhangs, orientation, tolerances and minimum feature sizes early on can help you avoid printing problems and save time and materials. Explore our illustrated guide for practical advice, along with optional test models and further learning resources.

View Guide

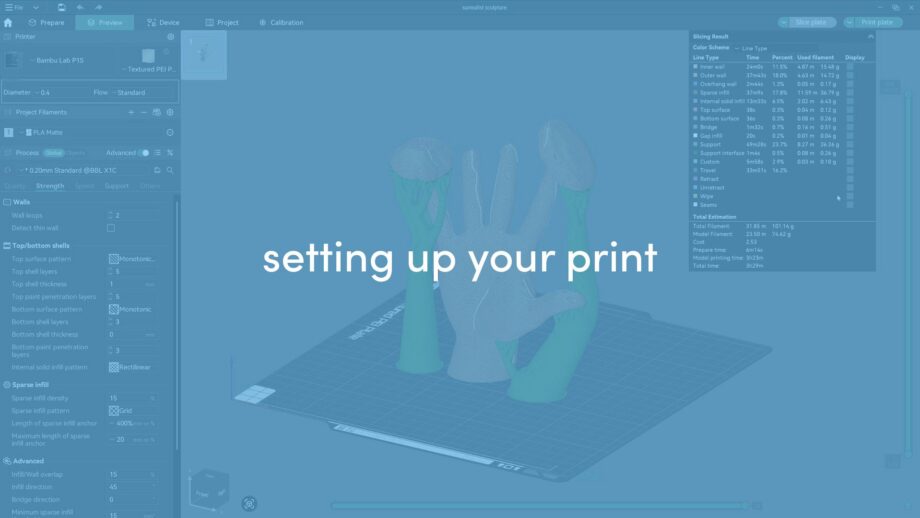
Screenshot of Bambu Studio slicing software showing a 3D model with support structures on a virtual print bed, overlaid with a blue tint and the title “setting up your print”.

Setting Up Your 3D Print

Before 3D printing your model, you'll need to prepare it in slicing software. Watch the video below to learn how to select your printer and material, position your model, adjust print settings and preview the results before printing. The demonstration uses Bambu Studio, but the same principles apply to other slicers.

Watch Video

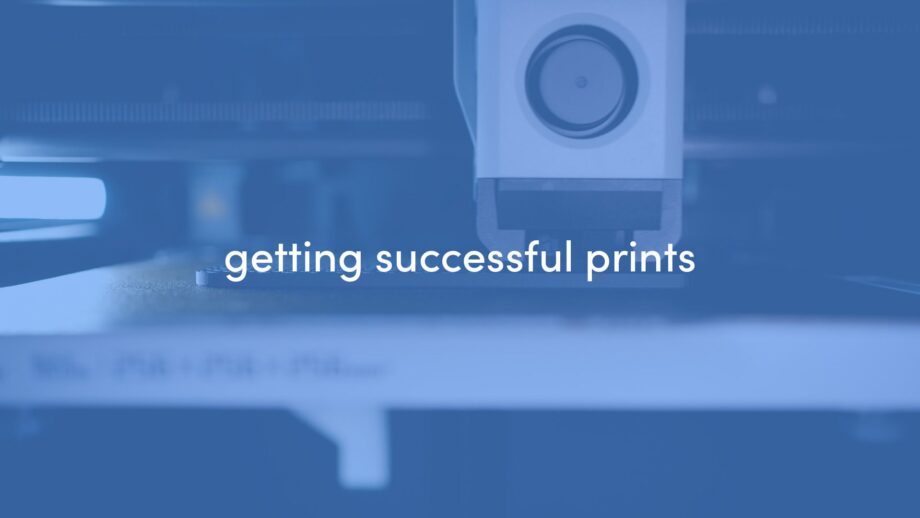
Close-up of a 3D printer nozzle printing an object on the build plate, overlaid with a blue tint and the title “getting successful prints”.

Getting Successful Prints

A few simple checks can make a big difference to the success of your 3D prints. Watch the video below for practical advice on preparing your print bed, checking calibration, monitoring the first layer and safely removing finished parts. You'll also learn some basic maintenance tips to help keep your printer running smoothly.

Watch Video


Here are a range of tips and strategies to help you throughout the design and prototyping process. Browse through the cards below and make notes of anything that might be useful for your project.

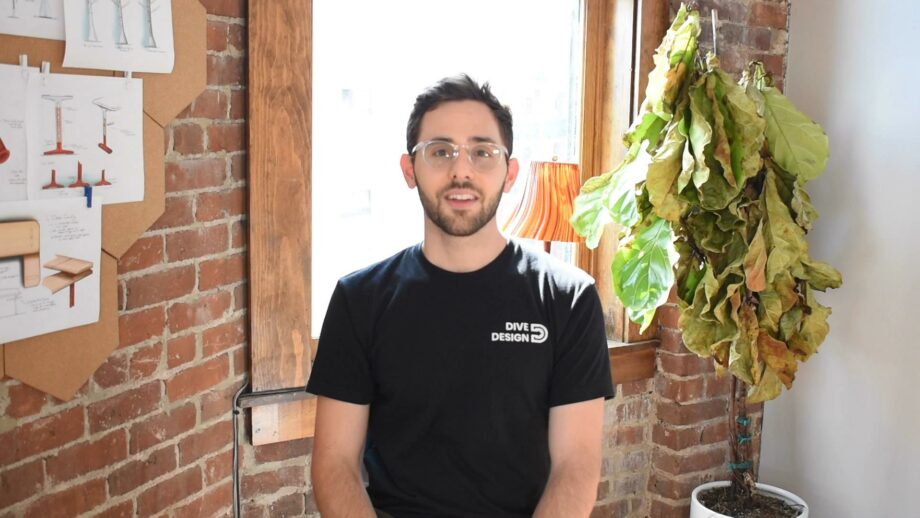
Adam Hecht from DiveDesign.

Fail Fast + Often

Adam Hecht from DiveDesign provides us with his top tip for prototyping - to fail fast and often using readily available materials. Check out the video below and head over to the DiveDesign website (https://www.divedesignco.com/) to learn more about their exciting work.

Watch Video

Optimise Models for 3D Printing

Give your 3D CAD models a good check over to ensure they are 3D printable. This can save you huge amounts of time!

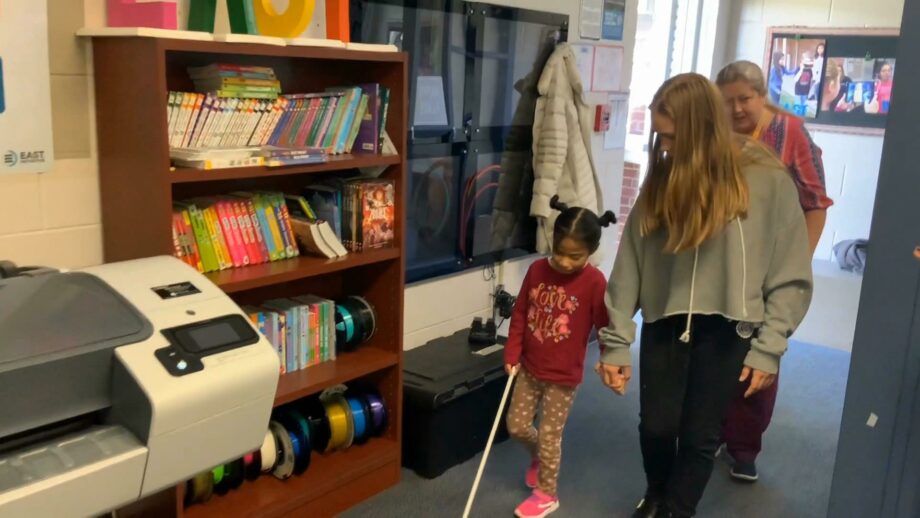
A person holding the hand of a young girl with a cane.

User Feedback

Don't be afraid or embarrassed to bring out rough and ready models to test with your end user. The best solutions are those that include the end user in multiple stages of the design process so if possible, get them involved as much as you can to critique your work.

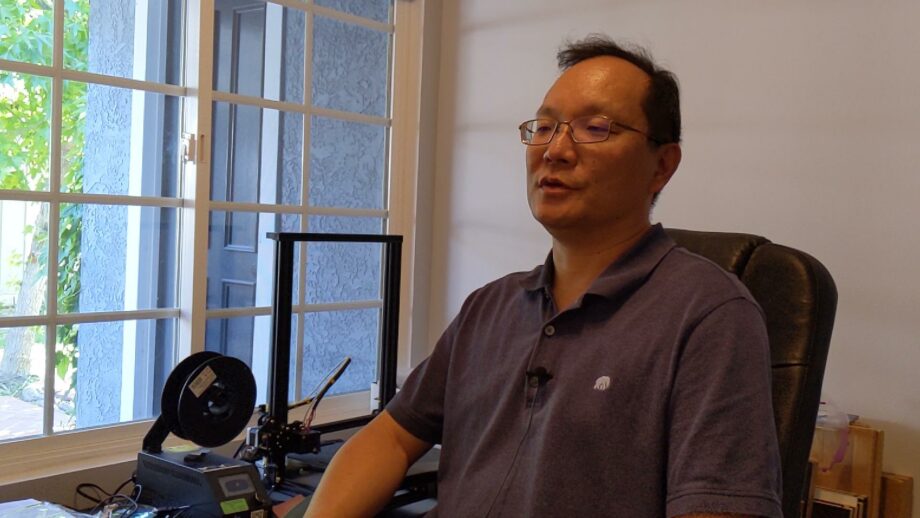
Andy Lin sat next to a 3D printer.

Don't Overengineer

Andy Lin, Founder and Director of The Emerging Tech Lab at Rancho Los Amigos National Rehabilitation Center, talks to us about getting keeping it simple and building in complexity only if necessary.

Watch Video

Vincent from DiveDesign.

Area-Specific Models

Is your design made up of multiple aspects or components? Check out this prototyping tip from Vincent at DiveDesign, who talks us through rapid sketch models for specific areas of a design.

Watch Video

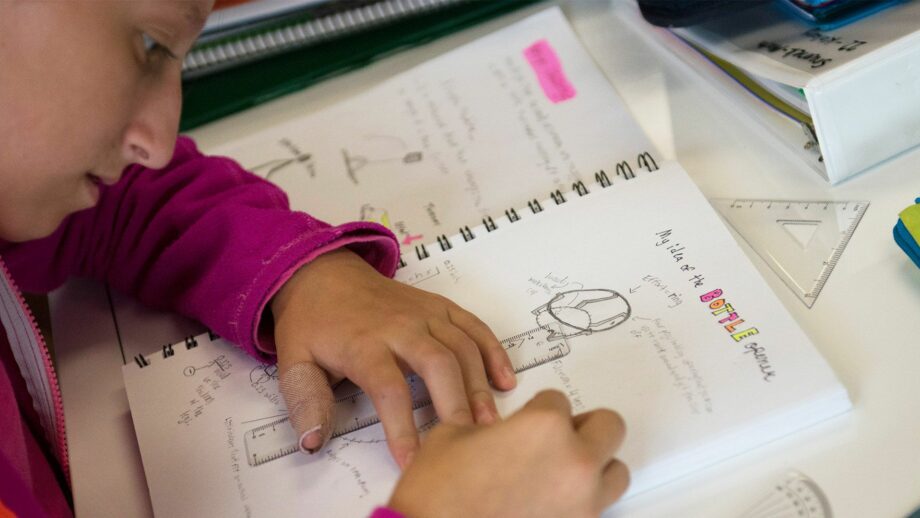
A student drawing assistive bottle opener ideas in her sketchbook.

Use your Strengths

There are thousands of ways to approach design and we highly recommend you work to your strengths. For example, if you excel in product sketching, put more emphasis on drawing. If you excel at 3D CAD, you might spend more time with digital shape explorations. When working in teams, figure out a way to make the most out of everyone's skills!

Precision Saves Time

While 3D printing makes it easy to prototype freely, precise measurements are still essential. Take care when measuring real-world objects or your end user before you start designing, and double-check dimensions in CAD before printing. A few extra minutes of accuracy can save hours of rework later.

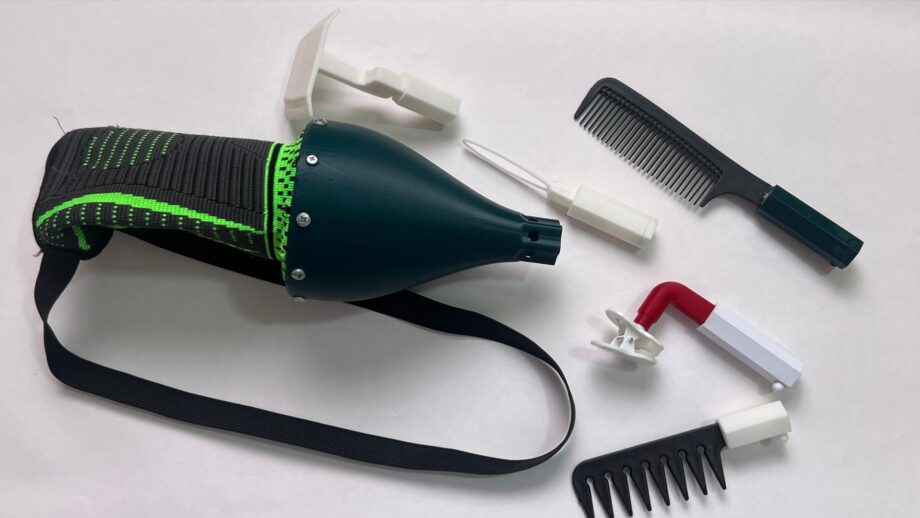
A 3d printed arm attachment with various modules on a table.

Open Source Considerations

Keep your attention on designing for your end user, but also stay open to how your solution could evolve beyond this project. As you prototype, you might notice opportunities for adaptability or features that could benefit others in the future — ideas that can be explored further after the challenge.


Documenting your design and prototyping activities is an important part of the Make:able Challenge. Capture photos and videos of your sketches, rough models, CAD work, 3D printing and prototype assembly as you bring your ideas to life. Explore the examples below to see how other teams have documented their prototyping process. Think about which types of footage might be useful for telling the story of your own project.

Sketching

In the design and make stage, you may develop your initial ideas into detailed sketches that consider dimensions, materials, mechanisms and more. These can be documented as still images like you see here, or you might pan your camera across the drawings.

Rough Modelling

Rough models might not showcase beautiful, refined solutions, but if they were a key part of your design process, don’t forget to include them in your submission video. We particularly enjoy how this team transitioned from one angle to another.

3D CAD Screen Record

Screen recording is a great way to show your 3D design process. You don’t necessarily need to screen record the whole process – even a short clip mid-process will be a great addition to your submission.

3D CAD Action Shot

An alternative way to capture your 3D design process is to record footage from the side or back that includes your screen.

3D Printing

When documenting the 3D printing process, we encourage you to take short clips like this at different points during the 3D print. For example, you might capture a few seconds towards the beginning, in the middle and at the end.

B-Roll

B-roll in the design and make stage might consist of some ‘behind-the-scenes’ footage. This example shot works very well as it shows a team discussion with 3D printers operating in the background.

Prototype

You may consider showcasing your initial prototype by holding it up to the camera like in this example.

Assembly

Is your prototype made up of multiple components? Show us how it is assembled and how the parts fit together!


Explore these optional resources for a real-world example of developing and prototyping a design during a Make:able project, along with practical sketching tips and techniques from a professional product designer.

Multiple iterations of a 3D printed elephant fidget device. The title 'Design + Make' overlaid in white bold text.

Rob's Challenge

In this stage of Rob’s Make:able Challenge, he shows how he develops his initial 3D printed prototypes, using his empathy and idea generation studies as a foundation.

Watch Video

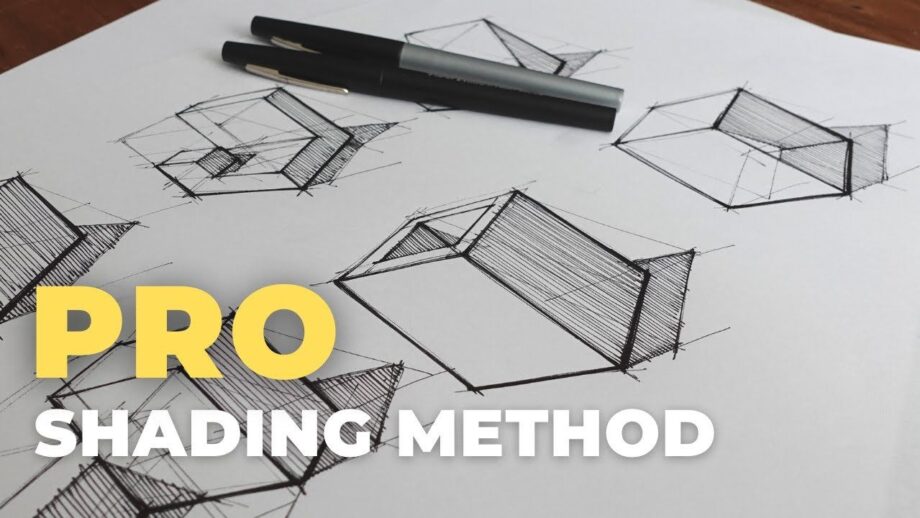
Geometry sketches on white paper. The title 'PRO Shading Method' overlaid in bold text.

Simply Design Sketching

Looking for resources to help you sketch better? Check out Simply Design Sketching's amazing YouTube channel for tutorials, tips, and more.

Go to YouTube Channel


Before moving on to the next toolkit, you should have achieved the below objectives.

  1. I have explored and developed my selected idea through sketches, rough models or other suitable methods.
  2. I have created a 3D printable digital model based on my developed design.
  3. I have manufactured an initial 3D printed prototype that I can test and improve.


Go to Next Toolkit – Test + Iterate