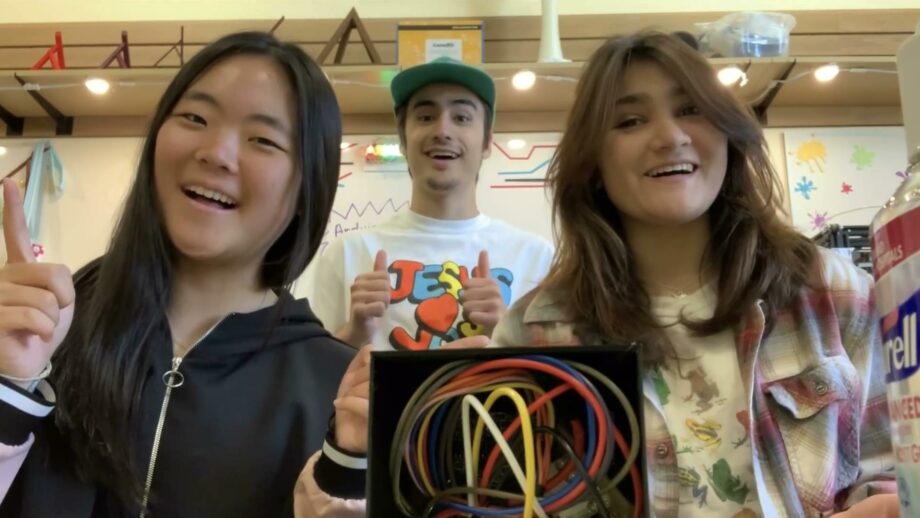
1. Team Intro
[≈ 10 seconds] Introduce your team very briefly. For example, tell us your names, team name and what school/organisation you are from. Check out some of the examples in the video reel below.
You’ve reached the final stage of the Make:able Challenge! Now it’s time to bring together everything you’ve captured throughout your design journey and turn it into a video that tells your story. Start by browsing the Example Structure section for inspiration on what to include. Then move on to STEP 1, where you’ll find a video production guide to help you plan, film and edit your submission. Once your video is ready, STEP 2 will guide you through preparing and submitting your project.
Remember, there’s no single right way to tell your story. Be creative, make it your own and celebrate everything you’ve achieved!
Below is an example video structure to help you plan your Make:able submission. Each section includes guidance and examples from previous teams to give you inspiration. You don’t need to follow this structure exactly, so feel free to adapt it, change the order or take a completely different approach to telling your story.
[≈ 10 seconds] Introduce your team very briefly. For example, tell us your names, team name and what school/organisation you are from. Check out some of the examples in the video reel below.
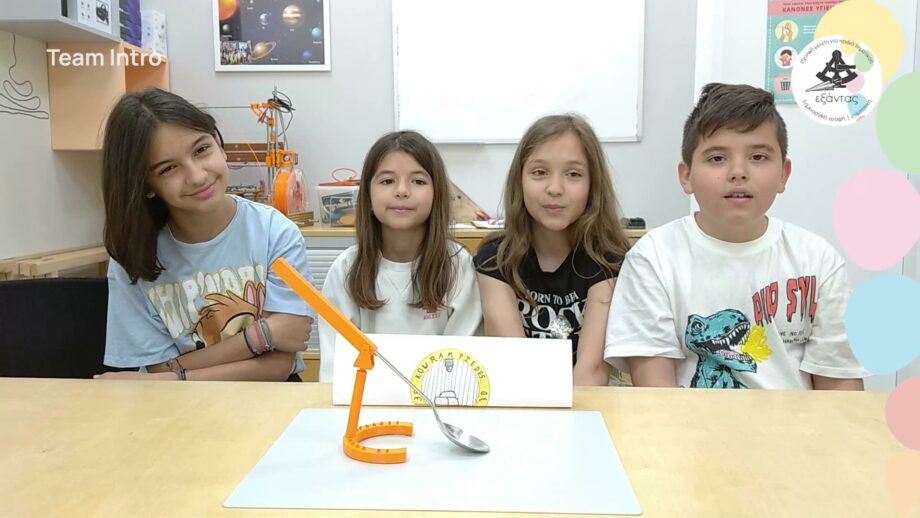
[≈ 5 seconds] Giving the audience a quick snapshot of your solution right at the beginning can really 'hook' them into your video. This can be done just after the team introduction or even during the team introduction. Check out the 2 different examples in the video below.
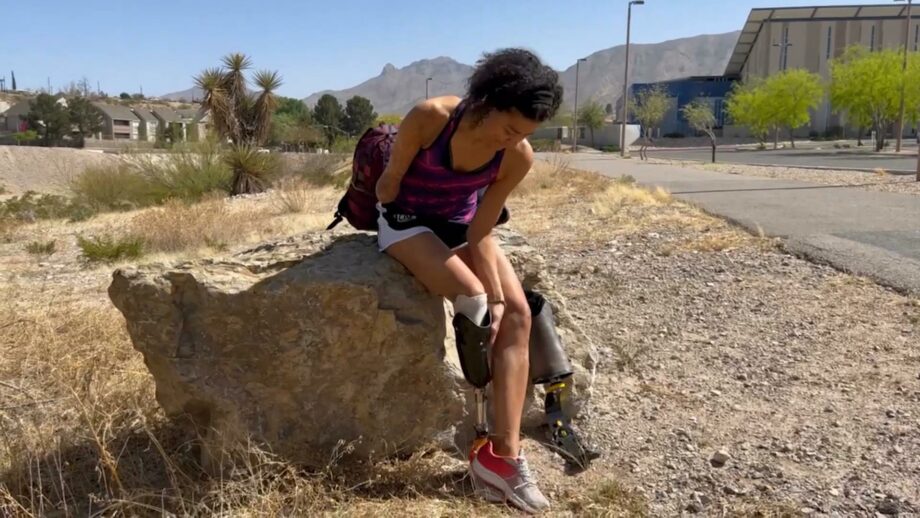
[≈ 15 seconds] Introduce your end user and tell us about them. Alternatively, and if they are comfortable doing so, have them introduce themselves! If you are designing for a make:able user, you might want to screen record part of their video and talk over the footage.
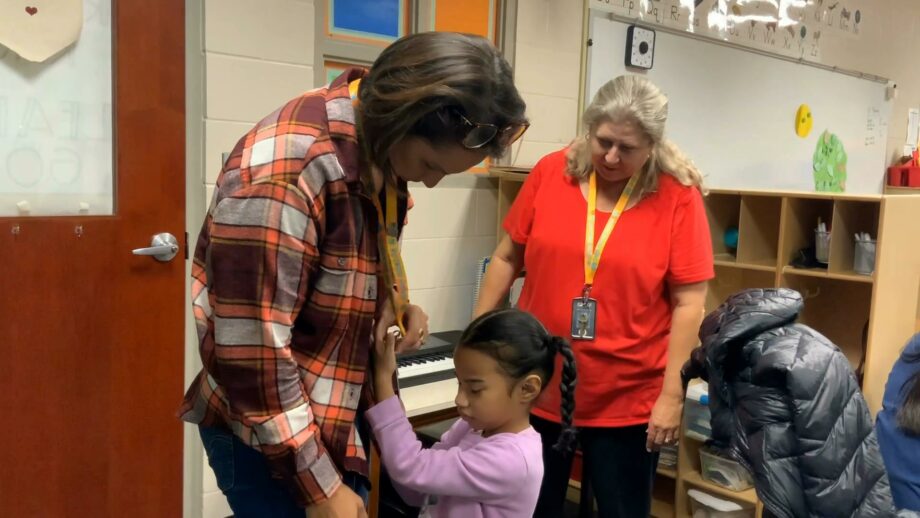
[≈ 30 seconds] Explain how you developed empathy for your end user, what you learned from it and what challenge you framed. This might be video footage observing them doing various activities, snippets from an interview with them, your own disability simulations, visuals of your challenge/empathy maps or various other techniques.
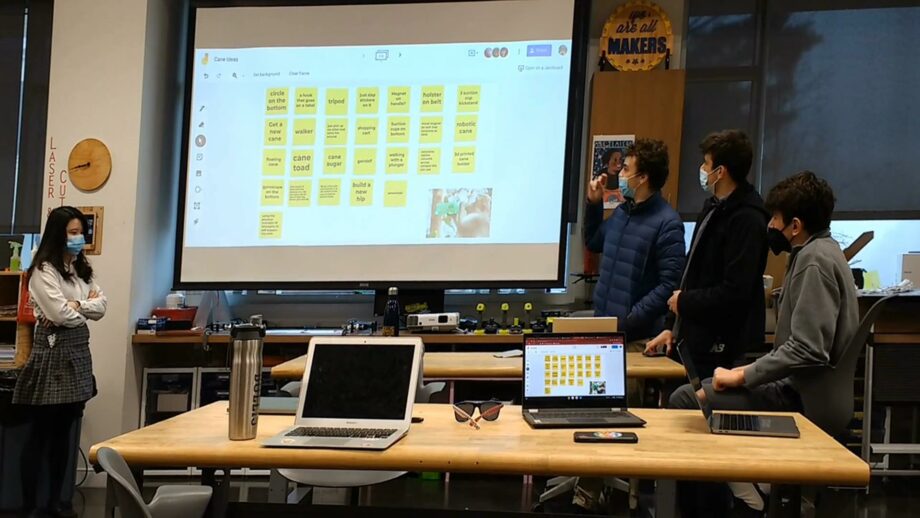
[≈ 15 seconds] Present your design ideas. Show the journey you took from generating a whole range of ideas to narrowing them down to a single concept and developing sketches, rough models and more.
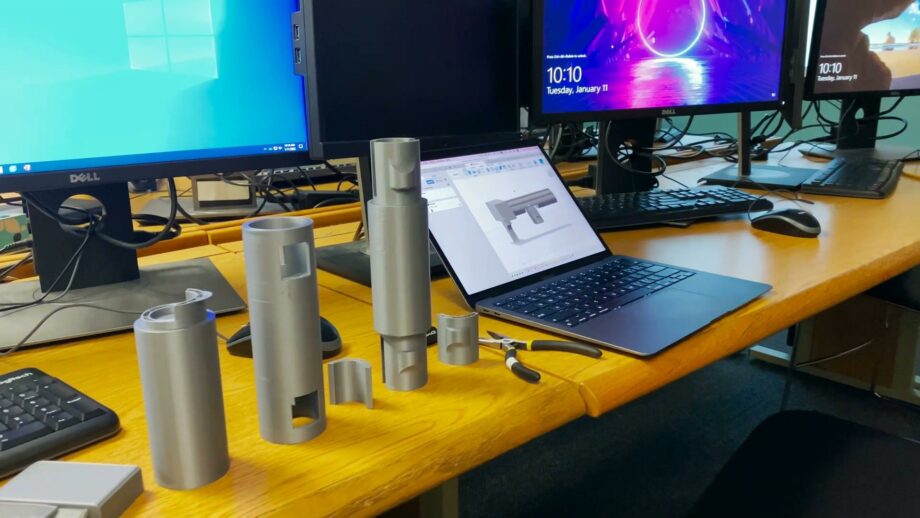
[≈ 30 seconds] Present your iterative design process, including snippets of 3D designing, 3D printing, testing and refining.
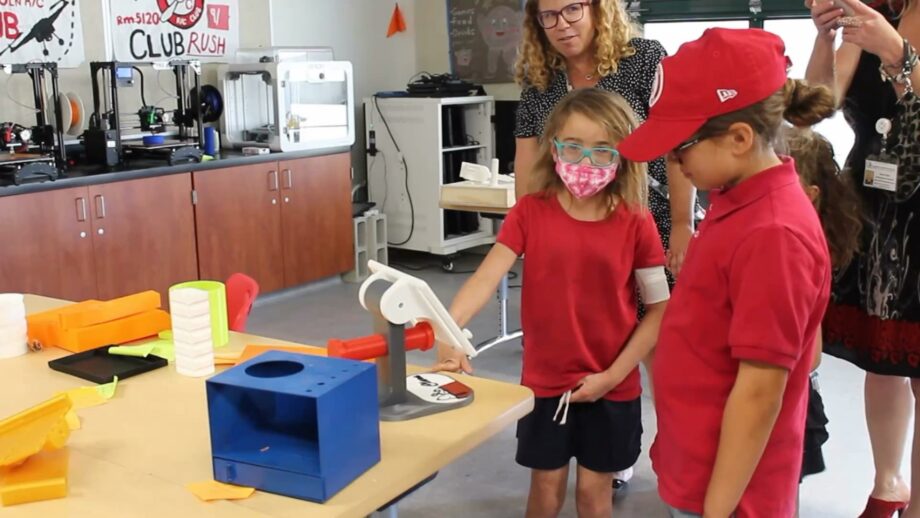
[≈ 20 seconds] Show your final solution in action! Ideally, this would be a demonstration that includes your end user.
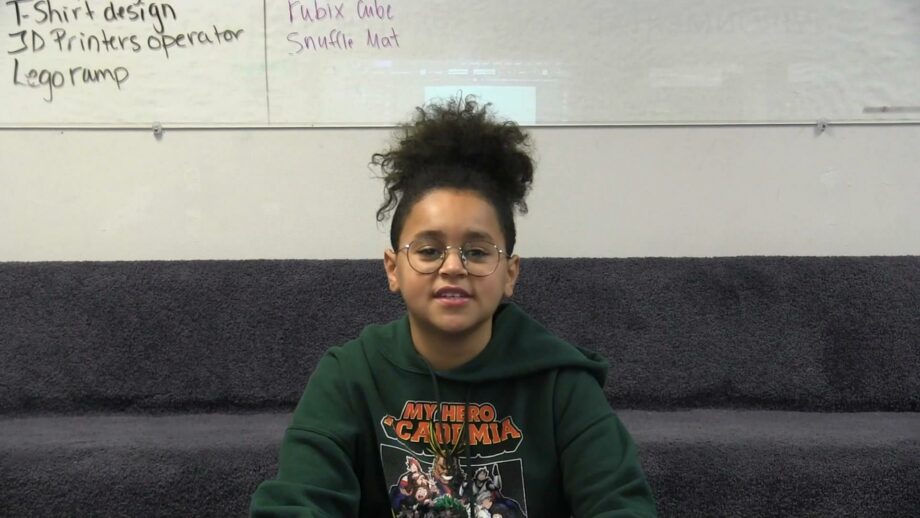
[≈ 20 seconds] Finish your video with a short message from either your team or end user to summarise the impact of your device and your experience with Make:able
With your video structure planned, it’s time to bring your story to life! Think about how you want to present your design journey, whether that’s through on-camera presentations, voiceover narration, photographs, animations or a combination of different approaches. The video below provides a step-by-step guide to planning, filming and editing a product overview video. While it focuses on showcasing a finished product rather than telling a complete design story, many of the techniques can be applied to your Make:able submission. Use the guidance that works for you and feel free to experiment with your own creative approach.
For editing, there are plenty of free options, including Clipchamp, iMovie, CapCut and Canva. Some offer additional paid features, but you don’t need professional software to create a great submission video. Choose something you’re comfortable using.
With your video complete, we’re at the final stretch! Go through the below information, which will guide you in preparing your submissions. Then submit your entries using the online form in the next section of the toolkit.
Once your video is complete, you have 2 options to share it with us. Option 1 involves uploading it to an online video platform such as YouTube or Vimeo. You can then include the video link in submission section of this toolkit. Option 2 involves saving the video file to an online storage platform such as Google Drive or Dropbox. The video file link can then be shared with us.
IMPORTANT: Before submitting, make sure your video link can be accessed by the Make:able team without requesting permission or signing into your account. We recommend opening the link in a private/incognito browser window to check that it works.
When submitting your high resolution image, try and select the image that best shows off your solution. This might be an image of it in use, or it might be a powerful rendered image.
As outlined in the first Introduction Toolkit, we must obtain consent forms for any media we share publicly – whether this be for judging, community updates, or promotion of the challenge. Once relevant forms are completed and signed, scan them digitally or take clear photos of them. These can then be uploaded to the submission form.
The remaining sections of the submission form are pretty self-explanatory but if you have any questions at all, feel free to reach out to us at hello@weareprintlab.com.
Before you submit your entry, you should have achieved the below objectives.
Please complete the form below to submit your Make:able project. If you’re over 18, please use the submission form in the next section instead.
Please complete the form below to submit your Make:able project. If you’re aged 18 or under, please use the submission form in the previous section instead.
Congratulations on completing the Make:able Challenge! You’ve designed a meaningful assistive device and made a real difference through creativity and perseverance. But this doesn’t have to be the end of your journey — if you’d like to take your project even further and prepare it for open-source sharing, explore our Beyond the Challenge toolkit to see how your design could impact people all over the world.
Go to Next Toolkit – Beyond the Challenge